 Heartbeatz Creationz has a new kit in her Twilight series "Introducing Jacob Black" http://heartbeatzcreationz.com/index.php?main_page=product_info&cPath=1_84&products_id=2405
I've done a tag, with tutorial, & I've made you a couple of quick pages.
What I used:
The latest kit by Heartbeatz Creationz in her Twilight series, “Introducing Jacob Black”
http://heartbeatzcreationz.com/index.php?main_page=product_info&cPath=1_84&products_id=2405
Poser by Medi Evil Creations http://heartbeatzcreationz.com/index.php?main_page=product_info&cPath=1_169&products_id=2398
Adobe PhotoShopCreativeSuite4
What I did:
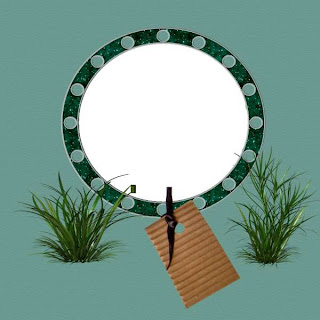
1. Open a new transparent canvas 700 pixels x 700 pixels. Use the circular selection tool to create a large circle & fill with the desired background (paper 17).
2. Select a feather element (element 36). Copy, paste, & adjust size & position as desired. Reduce opacity to 90%.
3. Select wolf element (element 19). Copy & paste. Position in top right of circle. Adjust opacity to 66%.
4. Choose a grass element (element 27). Copy & paste, positioning at bottom of tag.
5. Copy & paste your poser of choice (Moonsong), adjusting size as desired. Apply bevel & emboss effect.
6. Choose a flower element (element 43). Copy, paste, resize as needed & position near the poser. Move one layer down to be on layer below poser. Apply bevel & emboss effect.
7. Enter your text as desired. In this case I used Tiranti Solid LET 19 & applied a style from Bel Vidotti. Use a smaller font to add tag information along the bottom (Arial 3).
8. Merge visible & save.
 Enjoy.


1 comment:
Thank you so much for this Freebie. I want to let you know that I posted a link to your blog in Creative Busy Hands Scrapbook Freebies Search List, under the Page 15 post on Jul. 15, 2009. Thanks again.
Post a Comment