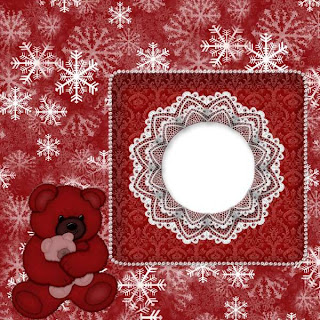
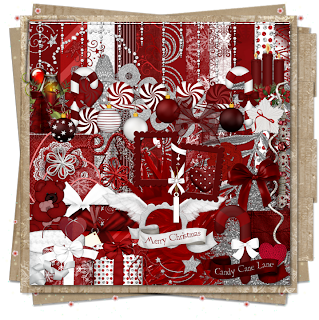
 JT Designs has a cute kit called Candy Cane Lane & I've done a layout, created a quick page freebie based on the layout, & made 2 tags with accompanying tutorials.
 The little sweetie in the layout is a toddler my friend is in the process of adopting.
Tutorial for “My Sweet Pals” tag
What I used:
Kit from JT’s Designs called Candy Cane Lane
http://digifoxsstudio.net/store/index.php?main_page=product_info&cPath=1_103&products_id=1606 (full)
http://digifoxsstudio.net/store/index.php?main_page=product_info&cPath=1_103&products_id=1607 (tag)
Poser from Medi Evil’s Creations http://medisaddiction.blogspot.com/
Adobe Photoshop Creative Suite 4 (Make sure show transform controls is checked to allow for easy resizing of elements.)
What I did:
1. Open a new transparent canvas 700 pixels x 700 pixels. Use circular selection tool to create a large circle. Fill with background of choice (paper 7).
2. Choose a tree element (element 82). Copy & paste, resizing as needed, & positioning off to the side. Apply bevel & emboss effect.
3. Choose a heart element (element 16). Copy & paste, resizing & positioning as desired. Apply bevel & emboss effect.
4. Choose a decorative element (element 45- snowflake dangle). Copy & paste, resizing & positioning as desired. Apply bevel & emboss effect.
5. Copy & paste poser of choice (medi-naomee3), resizing & positioning as desired. Apply bevel & emboss effect.
6. Copy & paste the teddy bear element (element 27), resizing & positioning beside poser. Apply bevel & emboss effect.
7. Enter desired text. In this case I used Kingthing’s Christmas font. To shape the text, click the text in the layers palette, choose warp text, then arch. Use a smaller font for tag information (Arial 4). 8. Merge visible & save.
 Tutorial for “Greetings” tag
What I used:
Kit from JT’s Designs called Candy Cane Lane
http://digifoxsstudio.net/store/index.php?main_page=product_info&cPath=1_103&products_id=1606 (full)
http://digifoxsstudio.net/store/index.php?main_page=product_info&cPath=1_103&products_id=1607 (tag)
Poser from Medi Evil’s Creations http://medisaddiction.blogspot.com
Adobe Photoshop Creative Suite 4 (Make sure show transform controls is checked to allow for easy resizing of elements.)
What I did:
1. Open a new transparent canvas 700 pixels x 700 pixels & fill with background of choice ((paper 2).
2. Choose a frame (doodle overlay 1). Copy & paste, resizing to tag boundaries.
3. Choose a dangly element (element 32). Copy & paste, resizing to fit along top edge of tag.
4. Choose a decorative element (element 61). Copy & paste, resizing & positioning as desired. In this case I duplicated the element & applied the bevel & emboss effect to both.
5. Copy & paste your poser of choice (medi- hollieday ball 8), resizing & positioning as desired. Apply bevel & emboss effect.
6. Enter desired text. In this case I used Lauren script & applied a glitter style by Yarrow & applied the bevel & emboss effect. Use a smaller font for tag information.
7. Merge visible & save.
This kit has potential to spare. I've really barely scratched the surface. This month only the kit is on sale for an incredible $0.99!
Enjoy.









1 comment:
Thank you for freebies. Link on your post was added to Lori's freebie list
Post a Comment