Monday, February 28, 2011

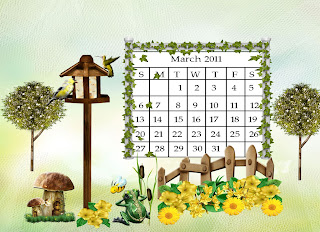
March 2011 desktop calendar


I know I already posted a desktop calendar for March 2011, but I'm so sick of the grey snowy scene outside my window, I needed a real pick-me-up to look at each day, plus I now have a laptop, so I can put one calendar on the laptop & have a different one on the desktop.


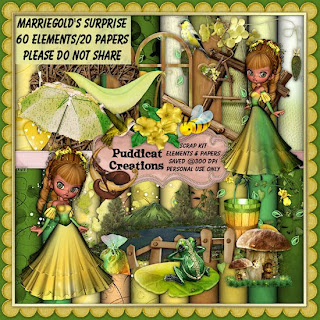
I looked through my files & decide to use Marriegold Surprise by Puddicat Creations. (I actually bought the kit at an online store I don't ct for, but the link is to the kit in a store I do work for - I really like just about everything Cindy does so if she has a really good sale, I'm there!) This tagger size kit is bright & sunny & features lovely posers by Medievil Creations.

Enjoy.

Angels Above quick page


I've made a special quick page using Wicked Princess' Angels Above kit.


available in both tag & full sizes

Losing loved ones hurts - this kit was created in memory of a miscarried pregnacy, my quick page is dedicated to the friends I have lost to terminal illness.


enjoy

Monday, February 14, 2011

Garden of Hope


I did a family layout using a FTU kit from Wicked Princess Scraps called Garden of Hope.


I decided to make you a freebie quick page based on the layout.
Enjoy.
Stepping Out


Today I got to work with JT's Designs' latest kit "Stepping Out" - it's a fabulous kit, very diverse. Check out Jane's blog for a list of stores where she sells her designs She also makes lovely commercial use items.


I've made you a set of quick pages & done a tag. I couldn't decide if the art deco page looked best with the writing or without, so both versions are included.


I made the tag using Adobe Photoshop Creative Suite 4, with "show transform controls'' enabled for easy resizing of elements. I've imported the effects from my Photoshop Elements into Creative Suite so I don't need to close my work in the one program & reopen it in the other if I want to use an effect available in the one software but not the other.


1. Open a new transparent canvas 700 pixels x 700 pixels & fill with your background of choice (paper 4 at 80%).

2. Choose your elements (dress 3, shoes 1, purse 2) & copy, paste, resize & position each as desired.

3. Choose a poser or tube. I'm using a poser by Medievil Creations (medi-boopsie 1). Copy, paste, resize & position, then apply bevel & emboss effect. (If you are using a different software, drop shadow is a suitable substitute.)

4. I decided to use the title banner instead of theme text. After the copy, paste, resize & position stage, I applied bevel & emboss followed by outer glow.

5. I used a font called Diamond for the name & applied an effect called groovy, which is a one step effect that applies inner shadow, outer glow & inner glow. I used Arial for the tag info & again applied the groovy effect , to make the text more visible.

6. When satisfied with your tag, do a final save.

Enjoy.

Monday, February 7, 2011

quick page set & tag with Elna


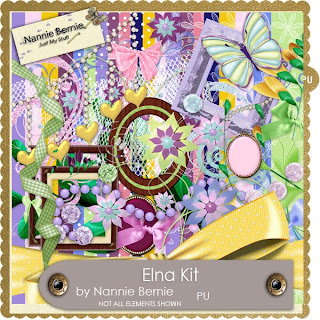
Nannie Bernie has a new kit called Elna & she has graciously allowed me to play with it.


I've made 2 quick pages & a tag.
I created the tag using PSCS, with "show transform controls" activated. All the major graphics programs have the equivalent of this - "show bounding box" (PSE) or the pick tool (PSP) which creates a box around the element, allowing it to be easily resized by manipulating the corners - much easier than calculating percentages to resize.
1. Open a new transparent canvas 700 pixels x 700 pixels, & use the circular selection tool to create a circle. fill the circle with background of choice (paper 20 at 30%).
2. Select a background element (dangle 2) & copy, paste, resize, & position as desired. I simply repeated the element twice more. You might choose to use a variety of elements.
3. Choose a poser to copy, paste, resize & position. I used Angelic Posers avaloniaD3 & applied the bevel & emboss effect & an outer glow.
4. Enter desired text. I used Johannes 10 for the main text. To curve the text, I right clicked on the text layer in the layer palette, selected warp text, & arch. i then applied a style called rainbow rust 1-1 by Dana Conditt. I also applied the same style to the name, but used a font called 'Love ya like a sister' in size 12. For the tag info I used Minion Pro for the tag credits.
5. Final step is a final save.

Enjoy.

Wednesday, February 2, 2011

Love Joy Bliss goodies for you


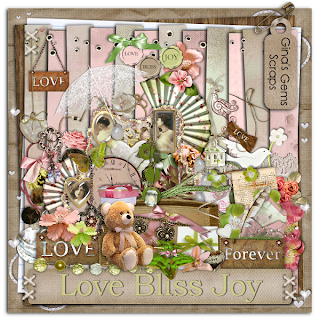
Gina's Gems Scraps has a lovely new kit called "Love Joy Bliss" that comes in full & tag size.


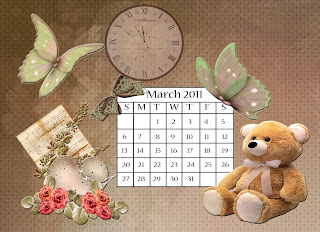
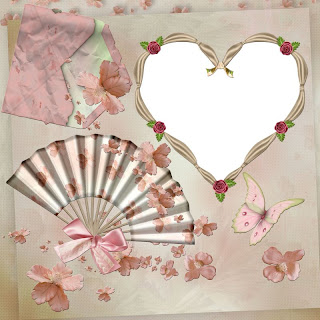
I've made a set of 2 quick pages, a desktop calendar for March 2011, & a tag. Download


Tag Tutorial

I'm using Adobe Photoshop Creative Suite 4. Make sure "show trans form controls" (or your graphics program's equivilent) is enabled for easy resizing of elements.

1. Begin with a transparent canvas 700 pixels x 700 pixels & use your circular selection tool to create a circle, then fill with background of choice (paper 16).

2. Choose your background elements (fan 1, torn heart 1) & copy, paste, resize as needed, & position as desired.

3. Copy, paste, resize & position your poser of choice (Medi-aysia 2 by Medievil Creations). Choose elements to embellish the poser, if desired. I put flowers 1, 3, 4 to cover the flowers in her hair, applying the bevel & emboss effect; I also put vintage rose 1 into her hand, erasing the portion of stem over her thumb, & applied the bevel & emboss effect to the rose.

4. Choose any other elements desired. I really wanted the vanilla flower 1, which after copying, pasting, resizing & positioning, I applied bevel & emboss effect.

5. Enter desired text. I used Splendid font size 10 for the saying & Shardee 24 for the name. I then used a style from Creative Intentionz, exquisite 4 on both the saying & the name. I used Arial 2 for tag information.

6. When you are satisfied with your tag, do a final save.

If, like me you live in an area being hit by the massive storm, stay warm & safe.

Enjoy.