Sunday, November 28, 2010

gorgeous Georgetta Cartrite


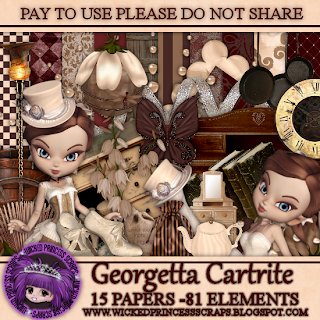
A while back I played with Wicked Princess' kit Victoria Dove & really enjoyed working with it. Well, she has a new kit along a similar theme, called Georgetta Cartrite, available in both tag & full sizes, & it is so gorgeous! I just had to play with it! There are so many wonderful elements, it's hard to choose which ones to use. there are also some lovely posers by Lisa K of Sophisticated Imaging.

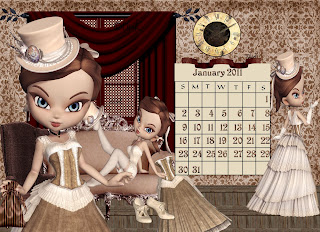
I decided to get the January 2011 desktop calendar done early & I've also made you a quick page to go with it. I put them both in the same zip, so I hope you like both.


I also made a tag. I used Adobe PhotoShop Creative Suite 4, but this simple tag can be made using any of the major graphic programs. With PSCS, make sure "show transform controls" is checked, while with PS Elements, it's "show bounding box" & with PSP, it's having the pick tool enabled - this allows for easy resizing of elements.



1. Start with a transparent canvas 600 pixels x 600 pixels. Use your circular selection tool to create a circle & fill it with the background of your choice (paper 11 at 30%).
2. Now you pick your elements, each of which you will copy, paste, resize as needed, & position as desired in turn. It's always best to have your layer palette loaded & visible off to the side. I actually started with the door & moved about in the layers palette to add the largre compass underneath (set at 55% opacity) later.
3. I used bevel & emboss effect on the door, as well as outer glow, to imply the door is slightly ajar. There are a variety of elements to choose as your traveler's luggage. I used trunk, hatbox, round hatbox, round box, birdcage, & compass, but you may decide to use a different combination.

4. Choose your poser. I used Georgetta turned, flipped the poser horizontally, & applied the bevel & emboss effect. I had to delete the flipped copyright & recopy & paste it so it was legible.

5. Choose your font for your text. (If you are using PSP, you may choose to create your initial circle with preset shapes in order to use the curved text on a vector shape feature, with the curved text icon prompt. In this case it will be easier to do the curved text as step 2.) I used a font called Victorian for the main text, right clicked on the text in the layers palette & chose warp text, arch, adjusting the amount of curve to taste. then I applied a style from Wetfish designs. I used a font called Whimsical for the name & applied another style from the same set.

I adjusted the font to a small size to add tag info. Never forget to include the crucial credit information. If you use licensed posers it is also crucial to include your licenxe number.

6. When you are satisfied with your tag save it. I save in the program format with layers intact & then save a merged copy in png format.


Enjoy.

Thursday, November 25, 2010

December 2010 desktop calendar


I backtracked to Stacey's Designs kit Cold Hands, Warm Hearts to make the new desktop calendar freebie.

Enjoy.

Sunday, November 21, 2010

Snowflakes of the virtual kind


It's one of my inherent contradictions - I hate snow but love snowmen. Snow may look pretty, especially when it's newly fallen, but any sense of enchantment is short-lived thanks to the cold and the mess. So I prefer virtual snow, like the kind in Digicats (and Dogs)'s latest kit Snowflakes

I've made 2 lovely quick pages to share with you I also made 2 easy-to-do tags. Both are simple, you choose your background paper, decide your basic shape and fill with that background, then choose your desired elements and "copy, paste, resize as needed, position as desired". Choose your poser, if desired, and copy, paste, resize, and position. Whether you use one of the posers included in the kit, or different poser, please be certain you credit the poser creator properly on the tag - it's very important. I use a small, inconspicuous, but still visible font for tag information, usually Arial 3-4. For any desired text or name, you may need to experiment.


For "Good friends" I used paper 19 filling a circle shape, added a snowman cluster, the snowman you see holding the water globe, and the water globe, and used the font ‘Kingthings Christmas’.


For "Season's Greetings", I used paper 18, the wreath, bauble 1, bells, and kitty, along with a poser from Angelic Posers (Brynn3). After much experimentation, I settled on a font called ‘Christmas Card’.

Enjoy.

Wednesday, November 10, 2010

Cold Days Warm Hearts

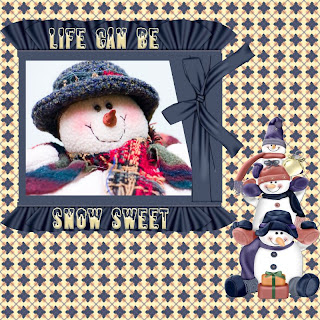
photo credit Joe Tyson

Stacey's Designs has an adorable new kit Cold Days Warm Hearts jammed packed with snowmen & skating teddy bears.


I did 3 layouts - for 2 of the layouts I scrapped photos from a skiing party in January 2009, for the other I used a stock photo from Joe Tyson. Thanks for a great photo, Joe.


I then made a set of 3 quick pages based on these layouts.

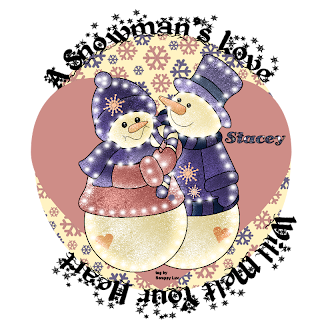
Then I made a tag. This time I used Paint Shop Pro, because I wanted to wrap words around the tag.

Open a new blank canvas 700 pixels x 700 pixels. Set your background of choice (paper 6 at 10%) as background & foreground & use preset shapes to create a circle.

Choose the text tool, then change the background & foreground colour to the text colour, choose the font (Kingthing's Christmas 52), when the text icon for curved text appears, type the desired text.

Create new layer, choose background & foreground material (paper 10), choose preset shapes & create a heart.

Choose a snowman element (lighted snowman couple), copy & paste, resizing as needed.

Use a smaller font for name (Antsy Pants 24) & tag information (Arial 05).

Merge visible & save.

Enjoy.