 My health problems continue to plague me. I have a freebie kit in progress & will finish it soon, I hope. In the meantime, I've been playing with some recent kits I've bought & one I got as a member of a creative team, so I do have some goodies for you.
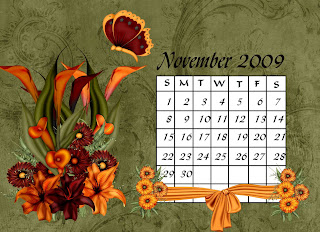
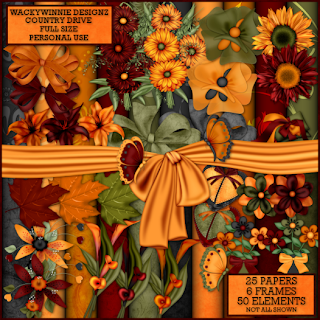
There are so many lovely autumn kits out there it was hard to pick one for my November desktop calendar, but I finally settled for Country Drive by Wacky Winnie's Designz
 I also did a tag with tutorial.
Tutorial for “Cherish Your Memories” tag
What I used:
Country Drive kit by Wacky Winnie Designz
http://digifoxsstudio.net/store/index.php?main_page=product_info&cPath=1_102&products_id=1434 (tag)
http://digifoxsstudio.net/store/index.php?main_page=product_info&cPath=1_102&products_id=1433 (full)
Poser by Bits N Bobs http://scrappingbits.blogspot.com
Adobe Photoshop Creative Suite 4
(Make certain show transform controls is checked, for easy resizing of elements.)
What I did:
1. Open a new transparent document 700 pixels x 700 pixels. Use circular selection tool to create a circle & fill with background of choice (paper 13).
2. Copy & paste poser of choice (lady 1), resizing as needed.
3. Choose flower elements. Copy & paste large flower (flower spray 1), resize as needed & position at hem of poser’s dress. Apply bevel & emboss effect. Copy & paste smaller flower, positioning as if in poser’s hand. Apply bevel & emboss effect.
4. Choose a butterfly (butterfly2). Copy & paste, resizing & positioning as desired. Apply bevel & emboss effect.
5. Enter desired text. In this case I used Milano LET 14. Use a smaller font (Arial 4) for tag information. To make text curve, highlight in layers palette, right click, & choose warp text.
6. Merge visible & save.
Enjoy.


1 comment:
Thank you so much for this Freebie. I want to let you know that I posted a link to your blog in CBH Digital Scrapbooking Freebies, under the Page 5 post on Oct. 27, 2009. Thanks again.
Post a Comment