

 Tutorial for “Winter Blessings” tag
What I used:
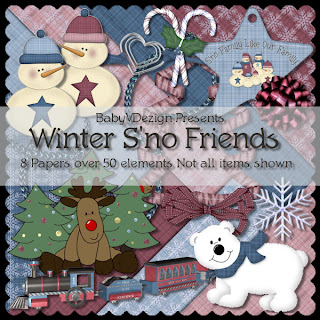
“Winter Sno Friends” kit from Baby V Dezign, available in both full & tag sizes. Visit her blog http://babyvdezign.com for a list of stores.
Poser from Medi Evil Creations http://medisaddiction.blogspot.com
Adobe Photoshop Creative Suite 4
(Make sure “show transform controls” is checked to allow for easy resizing of elements.)
What I did:
1. Open a new transparent canvas 700 pixels x 700 pixels. Use circular selection tool to create a circle & fill with background of choice (paper 7).
2. Choose word art (word art 3). Copy & paste, positioning along edge of circle, adjusting size as needed.
3. Choose a holly element ((holly 2). Copy & paste, adjust for size & position at one end of word art. Repeat & position at other end of word art.
4. Choose a tree element (snowtree). Copy & paste, resize as needed & position in center of tag.
5. Choose snowman elements (snowman 1 & snowgirl 1). Copy & paste, positioning one on each side of tree, & apply bevel & emboss effect to each.
6. Copy & paste your poser of choice (Medi-andalia5), resizing as needed & positioning between the snowmen. Apply bevel & emboss effect.
7. Enter desired text. In this case I used Cataneo BT 12. Use a smaller font for tag information.
8. Merge visible & save.
Enjoy.


3 comments:
Thank you! Your blog post will be advertised on the DigiFree Tagger Freebie search engine today (look for timestamp: 15 Dec [LA 02:27pm, NY 05:27pm, UK 10:27pm] - 16 Dec [OZ 09:27am]).
Thank you for freebies. Link on your post was added to Lori's freebie list
Thank you so much for this Freebie. I want to let you know that I posted a link to your blog in CBH Digital Scrapbooking Freebies, under the Page 12 post on Dec. 16, 2009. Thanks again.
Post a Comment