
Tutorial for “Girlie Girl” tag
What I used:
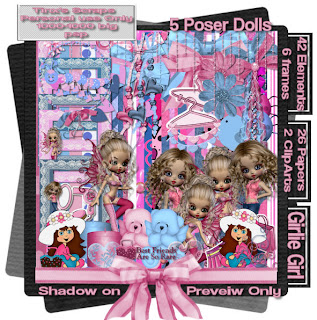
Girlie Girl kit by Tinx Scraps (aka Tonie Posers) http://digifoxsstudio.net/store/index.php?main_page=product_info&cPath=1_108&products_id=1926
Paint Shop Pro XI (Use “Pick” tool for easy resizing of elements.)
What I did:
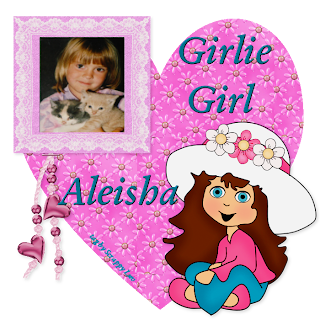
1. Open a new transparent canvas 700 pixels x 700 pixels. Use preset tool to create a heart. Fill with background of choice (paper 16).
2. Choose your photo & a frame (plain frame 3). If you don’t have a photo, copy the head & shoulders of the clipart figure in the next step. Copy & paste photo, then copy & paste the frame. Resize both as needed. Highlight photo & frame in layers palette & merge together. Position as desired & apply drop shadow.
3. Choose a clip art figure or poser (girlie). Copy & paste, resizing & positioning as desired. Apply drop shadow.
4. Copy & paste hearts 1, resizing as needed. Move layer down so that the string is behind the photo in the frame. Apply drop shadow.
5. Enter text. I used Garamond Bold Italics 18. I then applied Effects>3D>inner bevel>soft edge. Use a smaller size font for the tag information.
6. Merge visible & save.
 Tutorial for “I Love Being a Girl” tag
What I used:
Girlie Girl kit by Tinx Scraps (aka Tonie Posers) http://digifoxsstudio.net/store/index.php?main_page=product_info&cPath=1_108&products_id=1926
Paint Shop Pro XI (Use “Pick” tool for easy resizing of elements.)
What I did:
1. Open a new transparent canvas 700 pixels x 700 pixels. Use preset shape tool to create a circle. Fill with background of choice (paper 9).
2. Create a new layer. Use preset shape tool to create a star. Fill with background of choice (paper 6). Apply effect>3D>inner bevel>bead.
3. Select poser (poser 1), copy & paste, resizing as needed, then apply drop shadow.
4. Choose an embellishment (balloon 2). Copy & paste, resizing as needed.
5. Choose a teddy bear (bear 2). Copy & paste, resizing as needed.
6. Enter desired text (minicar 12), apply effect>3D>chisel>transparent thin. Use a smaller size for tag information.
7. Merge visible & save.
Enjoy


No comments:
Post a Comment