Saturday, May 29, 2010
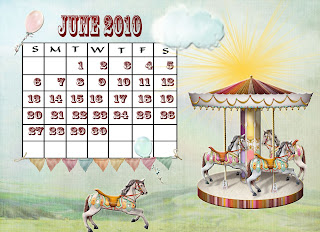
June 2010 desktop calendar

May DSO colour challenge
Tuesday, May 25, 2010
Country Life
.jpg)

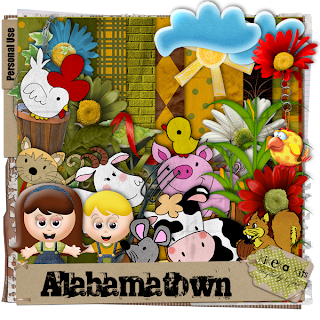
Gina's new kit, "Alabamatown" reminds me of my childhood years. It comes in both tag & full sizes.
http://www.scrappinbratz.com/shoppe/index.php?main_page=product_info&cPath=19_32&products_id=41522 (full)
http://www.scrappinbratz.com/shoppe/index.php?main_page=product_info&cPath=19_32&products_id=4153 (tag)
Tutorial for “Country Girl” tag
What I used:
“Alabamatown” kit by KiKeKa kits crafted by Gina, available in full or tag
http://www.scrappinbratz.com/shoppe/index.php?main_page=product_info&cPath=19_32&products_id=4152 (full)
http://www.scrappinbratz.com/shoppe/index.php?main_page=product_info&cPath=19_32&products_id=4153 (tag)
Poser © Sinful Mindz http://sinfulmindz.com/poser
Adobe Photoshop Creative Suite 4.0 (make sure “show transform controls” is checked for easy resizing of elements)
What I did:
Open a new transparent canvas 700 pixels x 700 pixels. Use circular selection tool to create a circle & fill with your background of choice (paper 12).
Create a new layer. Use preset shapes to create a multi-pointed star or multi-petal flower in top left corner. With “use previous layer to create a clipping mask” checked, fill shape with background of choice (paper 5).
Choose your background elements to copy & paste; resize & position the elements as desired. I used the barn & corn stalk. I applied a bevel & emboss effect to the corn.
Copy & paste your poser of choice (ellie mae 1-5). Resize as necessary & position as desired.
Enter desired text. I used Simpson 12. I used font size 4 for the tag information.
Merge visible & save.
Enjoy
Monday, May 3, 2010
a gentle soul who lit up our lives
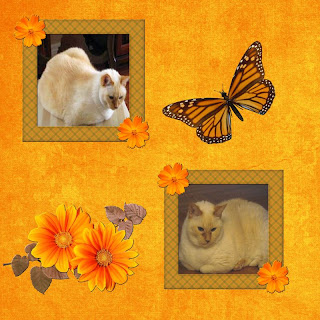

Tutorial for Beautiful Day tag
What I used:
Bright Times kit by Lady Saphira http://saphirasworld.de/scrapdesign
http://yourscrapaddiction.com/index.php?main_page=product_info&cPath=1_127&products_id=1127&zenid=3d158636ee35a59001e7037e0d83a910 (full)
http://yourscrapaddiction.com/index.php?main_page=product_info&cPath=1_127&products_id=1126 (tag)
Posers by Aisne http://aisne-creations.blogspot.com
Corel Paintshop Pro X with pick tool activated for easy resizing of elements
What I did:
1. Open a new blank canvas 700 pixels x 700 pixels. Create a circle either with the preset shapes tool or the circular selection tool. Fill with background of choice (paper 2). Create a new layer & create another circle slightly smaller than the first circle & fill with background of choice (paper 1).
2. Copy & paste your background element of choice (fence 1). Decorate the background with other elements of choice. I used leaf 5, leafs 2, & flowers 1-4, 6 to decorate the fence, copying the elements multiple times & then pasting, resizing, & positioning as appeared pleasing.
3. Copy & paste another element if desired, resizing & positioning as desired. I used the butterfly, 3 times, applying a bevel effect. You may want to experiment with bevels to find the one that looks best.
4. Copy & paste your poser(s) of choice. I used blossom 1 & dandelion 3 & applied a bevel effect to each.
5. Enter desired text. I used Notnorval HMK 12 for the name. Use a smaller font for tag information, like Arial 3.
6. Merge visible & save.
Enjoy.
Saturday, May 1, 2010
Colours of Spring


Tutorial for “Come Play With Me” tag
What I used:
Tag kit from PSP Girl “Colori Di Primavera” http://yourscrapaddiction.com/index.php?main_page=product_info&cPath=1_164&products_id=2103 which includes lovely posers by Sinful Mindz http://sinfulmindz.com
Adobe Photoshop Creative Suite 4 (Make sure “show transform controls” is checked for easy resizing of elements.)
What I did:
Start with a new transparent canvas 700 pixels x 700 pixels, use the circular selection tool to create a circle, & fill it with the background of your choice (paper 11).
The elements in the kit are numbered & I used #12-14, 22, 25, 25, 37, 59,61 & poser 3.
Let me say now that I applied the bevel & emboss effect to every single element I used for this tag, including the poser. Copy, paste, resize & position your choice of elements as you desire. I will make note of any extra steps I took.
I decide the fence (35) would anchor the tag. When I copied & pasted the fence I didn’t like how it looked when resized, so I left it original size & instead copied a complete fencepost to add an extra fencepost at each end of the fence.
I resized the birdhouse (59) considerably to fit it at the middle of the fence top. Sizing may vary depending upon you placement choices. I then chose a bird (61) to put with the birdhouse.
I used multiple copies of flowers (12-14, 37) & I erased the bows from flowers 12-14 & also copied only the bottom part of those flowers to fill out the covering on the fence. I had trouble deciding where to position my choice of butterfly (25). You may want to play around with it.
I knew I wanted the cell phone (22). I used Arial 04 to type the message on the phone (same as main text). I chose the poser (3) because she was the most appropriate poser to add the phone to.
I usually do the tag information last but since I was using Arial in a small size for the phone, I added the tag information at that time. After the poser & phone were in place, I increased the font size to 10, retyped the phone message, right clicked the text in the layer palette, and chose “warp text – arch”. I applied an italics effect to the name.
When satisfied, merge visible & save.
Enjoy.


