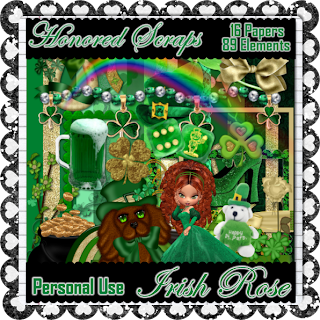
Yesterday I played with Irish Rose from Honored Scraps. I made 2 quick pages & a tag. The kit includes some lovely posers by Medievil Creations.


The tag is basically simple. I used Adobe Photoshop Creative Suite 4. Make sure that "show transform controls" or whatever your software program equivalent may be is enabled so you can adjust the size of elements & text by simply moving the corners of the 'box' that forms around the item. If your program doen't include the one step 'bevel & emboss' effect, experiment to find something to make things stand out a bit from the background.

1. Open a new transparent canvas 700 pixels x 700 pixels, use the circular selection tool to create a circle & fill the circle with your background of choice (paper 7).
2. Choose a pot of gold as your background element (pot of gold 3), copy, paste, resize as needed & position as desired. I applied bevel & emboss & outer glow.
3. Choose your other elements to copy, paste, resize & position. I used St.paddy puppy, 2 copies of blossom, poser medi-erynn 6 & rose 2. I applied bevel & emboss to each element. I erased part of the rose stem to make it appear the poser was holding the rose.
4. Choosing the right font & what text effects, if any, to use is often the area I experiment with most, backtracking & undoing until it is just the way I saw it in my mind. I eventually settled upon GE Signature Script. To curve the text right click on the text layer in your layer palette & choose warp text, then play with the settings to get the right amount of curve for your circle. I applied a default Adobe style called 'sunspot', then added bevel & emboss, as well as inner glow. I also used Arial font in a small size for the tag information.
5. It's a good idea to save your original in your program's default format & save a copy in your choice of web-compatible format.
Enjoy


1 comment:
Just a quick note to let you know that a link to this post will be placed on CraftCrave in the Graphics category today [04 Mar 12:00am GMT]. Thanks, Maria
Post a Comment