
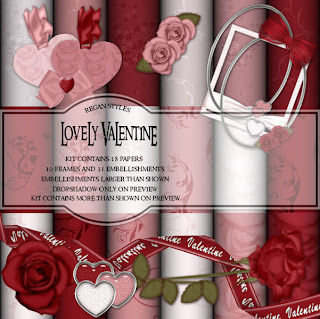
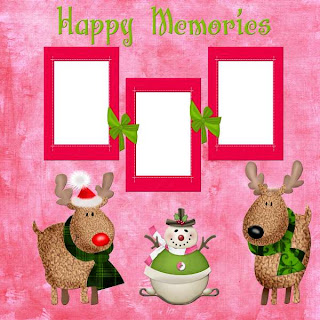
Between a computer crash & illness, I never got the kit I started finished, so I've made a freebie quick page with the little I have completed.
I hope to eventually finish the kit. In the meantime, enjoy.
.png)

I've made a layout, matching quick page for you, a tag & tutorial.
.jpg)
 Tutorial for “My Heart is Yours Forever”
 I've done 2 layouts with a matching quick page set & a tag with tutorial.

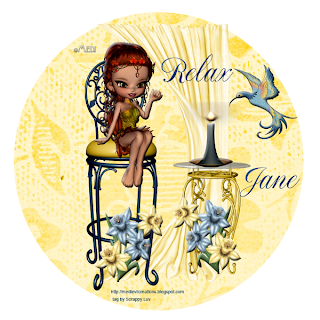 Tutorial for “Relax” tag
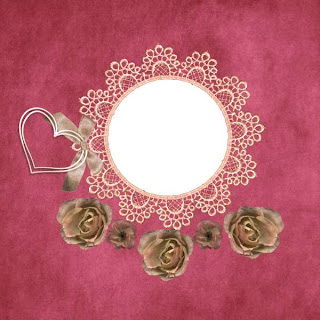
.jpg)
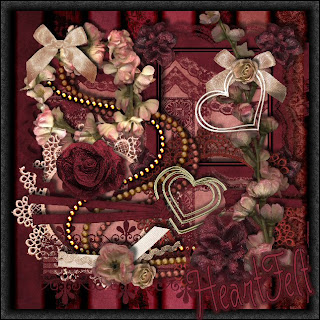
 Tutorial for “Heartfelt” tag
What I used:
“Heartfelt” scrap kit from Designs by Denise
http://digifoxsstudio.net/store/index.php?main_page=product_info&cPath=1_41&products_id=67
Poser from Bits N Bobs http://scrappingbits.blogspot.com
Adobe PhotoShop Creative Suite 4.0 (Make sure “show transform controls” is checked for easy resizing of elements.)
What I did:
1. Open a blank transparent canvas 700 pixels x 700 pixels. (My final tag is 678 pixels x 639 pixels.) Use preset shapes rounded rectangle to create a square or rectangle. Check off “use previous layer to create clipping mask” & create a new fill layer with paper of choice (4b). Highlight shape & fill layers in the layer palette, right click, choose “link layers”.
2. Create a new layer, use preset shapes to create a heart shape. Use move tool to slant heart. Repeat the steps in step 1 to fill heart with paper of choice (3b) & link the shape to the fill. Apply the bevel & emboss effect.
3. Choose either a frame or a heart charm (heart charm with bow). Copy & paste, & adjust size & position to suit the background.
4. Copy & paste a border of choice (lace edge 1), resizing & positioning along top edge of tag. Copy & paste that border, flipping it to go along bottom edge of tag.
5. Copy & paste flower of choice (2). Resize & position as desired.
6. Copy & paste poser of choice (Cookie New Year 4), resize & position as desired.
7. Enter desired text. In this case I used NotNorvalHMKBold 14 & applied Krissy’s Scraps True Love Bevel Style. Use a smaller font (Arial 3) for tag info.
8. Merge visible & save.
Enjoy.
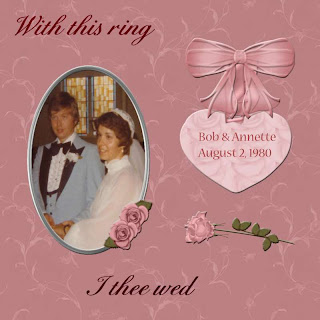
I used pictures from a slide show presentation created for my aunt & uncle's 60th wedding anniversary a couple of years ago to create the layouts.
 I kept the tag simple, no extra poser needed.
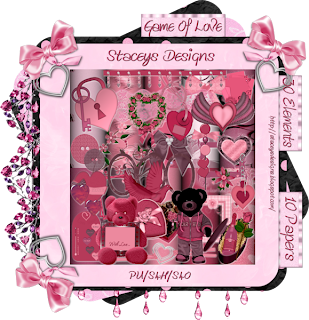
Tutorial for “Luv & Hugs” tag
What I used:
Tag size kit from Stacey’s Designs called “The Game of Love”
http://yourscrapaddiction.com/index.php?main_page=product_info&cPath=1_116&products_id=1511
Adobe Photoshop Creative Suite 4 (Make sure “show transform controls” is checked for easy resizing of elements.)
What I did:
1. Open a new transparent canvas 700 pixels x 700 pixels. Use preset shapes to create a large heart. Choose new fill layer with “use previous layer to create clipping mask” checked & fill heart shape with background of choice (paper 8).
2. Copy, paste & resize a bow of choice (bow 2) & position as desired. Apply bevel & emboss effect.
3. Copy & paste teddy bear element, positioning off to one side. Apply bevel & emboss effect.
4. Enter desired text. In this case the main text is Candice 14 with bevel & emboss effect, while the name is Chopin Script 12. Use a small font for tag info.
5. Copy & paste a floral element (decorated flower), resizing & positioning as desired. Apply bevel & emboss effect.
6. Merge visible & save.
When I logged onto the internet last night, it was the first time in over 3 days. Yikes - the inbox overflowth & I'm still not feeling well & keep having to lay down. Down but not out.
So far the snow isn't too bad here. I hope everyone had a safe holiday.
Enjoy.
http://www.scrappinbratz.com/shoppe/index.php?main_page=product_info&cPath=19_32&products_id=2638 (tag)http://www.scrappinbratz.com/shoppe/index.php?main_page=product_info&cPath=19_32&products_id=2637 (full)

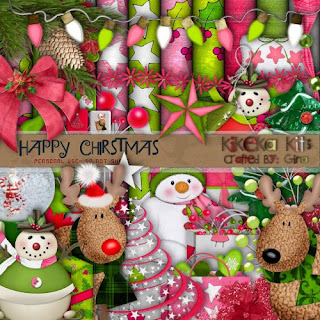
I've joined the CT for KiKeKa (crafted by Gina). She has an absolutely adorable new kit called "Where Fairies Reside". 
http://www.scrappinbratz.com/shoppe/index.php?main_page=product_info&cPath=19_32&products_id=2828
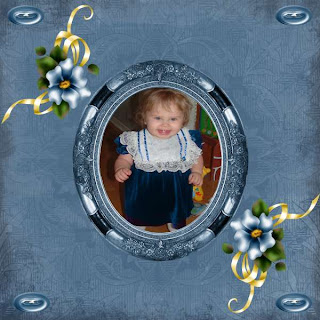
Now your first reaction might be that this kit will make great girlie layouts, & you'd be right, but I decided to show how the kit can be used to showcase photos of boys. I've done 3 layouts using pictures of a friend's little boy, & made one layout into a freebie quick page for you.


 Isn't he a sweetie? I loved how this kit let me highlight the photos & the natural playfulness of the little guy.
Enjoy.


