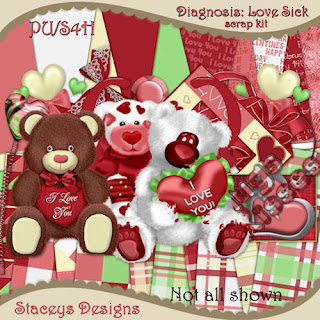

Ok - the title of Stacey's Designs latest kit has me flashing back to high school & my best friend's chronic condition, but the actual kit, available in both full & tag sizes, is cute, & currently on sale.

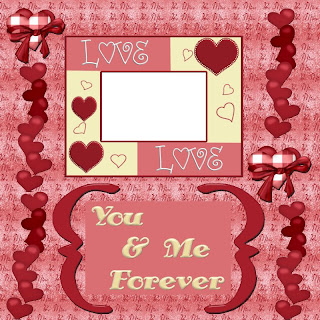
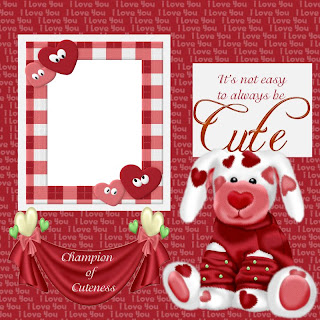
I've made a set of 2 quick pages, as well as a couple of tags.
As usual, I've used Adobe Photoshop Creative Suite to create everything, with "show transform controls" enabled. I love working with my Paint Shop Pro to create from scratch, but for tag making I prefer PSCS with its one touch style effects.

1. Tag 1 begins with a 700 x 700 pixel canvas & the heart preset shape, checking off "use previous layer to create clipping mask" in order to fill the heart with background (paper14).
2. Next I chose the double heart frame. besides the usual copy, paste, resize & position, (hereafter referred to as CPRP), I applied the following effects: bevel & emboss, drop shadow, inner glow, & outer glow, changing the colour associated with the effects to light pink.
3. To make whatever images you put into the frame stand out, you may choose to put a swatch of a contrasting colour behind the frames. highlight the swatch area & selectively erase any contrasting colour outside the frames. if you use photos in the frames this step may not be needed.
4. Choose the images to go into the frame & CPRP. I used the head & shoulders of posers by Medievil Creations, from a special fairytale collab (medi-cartiere1 & medi-evangeline6), but small personal photos would also work well. I applied bevel & emboss to the posers.
5. Choose a word art for the tag (be mine) & CPRP or type text in the font of your choice. I applied the same effects as in step 2 to the word art, but changed the colour used in the effects to white. I used Baroque 8 for the additional text, in white, with no additional effects.
6. Choose another element (engagement ring), CPRP & apply bevel & emboss effect.
7. Use a small font (Arial 3) for the tag information.
8. When finished, do a final save.

1. Tag 2 begins with a 700 x 700 pixel canvas. Use the circular selection tool to create a circle & fill it with your background of choice (paper 11).
2. Choose a word art (hugs and kisses), CPRP, apply bevel & emboss & outer glow, changing the colour from default yellow to white.
3. Choose your poser(s) & a cuddly-type element. I'm using posers from PSP Girl, one ptu (Kirsy6) & one ftu from her blog (Troll6), & the teddy bear element from the kit. Besides the usual CPRP, I applied the bevel & emboss effect to each.
4. Depending on posers & elements used, you may or may not have room for additional text. In this case I felt additional text would appear too crowded, so i simply added the tag information in a small font (Arial3).
5. When finished, do a final save.
Enjoy


No comments:
Post a Comment