
Ok, I picked up this really cute kit by Rebellious Scraps called Fairy Tale & I was really excited to work with it because it has some really cool background papers.
Unfortunately I have been really hammered by the impact of bacterial & infections, & I decided that, if at all possible, I wanted to actually get a colour challenge kit finished in time for others to potentially use my kit in the challenge. So I told myself I couldn't work with the Fairy Tale kit until I finished the challenge kit.
So, the colour challenge kit is finished & posted & although I feel really crumby & my body is screaming "Go back to bed!", my creative drive has screamed back "Play, play, play."
Play won out. I'm going to do the tutorials for the tags first, before I crash & am too tired to type.
I used Adobe Photoshop Creative Suite for all of my projects with this kit.
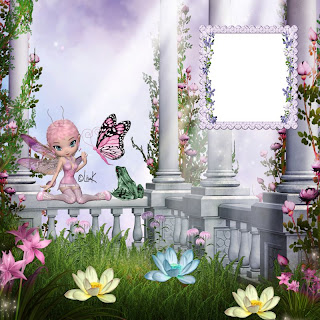
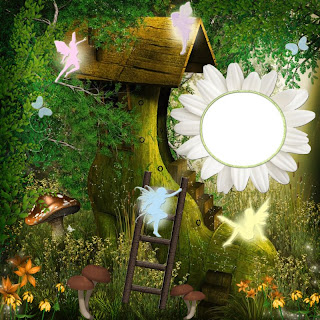
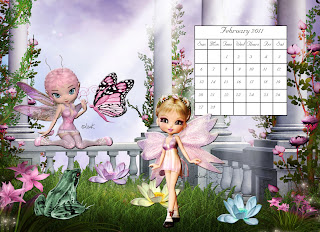
Tag 1 acually inspired both quick page 1 & a February desktop calendar. I added extra elements to the page & calendar. The poser from Lisa of Sophisticated Imaging, made it onto my calendar, but I also dipped into my poser tube collection (part of the fun).
1. Open a new transparent canvas 700 pixels x 700 pixels. For tag 1 use the entire canvas, for tag 2 use your circular selection tool to create an oval shape. Fill with the background of choice (tag 1>paper 4, tag 2>paper 1).
2. Choose your elements. The choice of detailed fantasy background papers in the first step means a small number of elements can make a bigger impact, especially if you experiment with effects. I love using the one step effect found in Creative Suite called bevel & emboss. If using Paint Shop Pro, experiment with the various 3D effects, but I wouldn't recommend the emboss tool in PSP since it works very differently in PSP than in Photoshop. For tag 1 I used frog 2 & butterfly 2 & applied bevel & emboss effect to both, while in tag 2 I used the ladder, flipped horizontally. In tag 2 I selectively erased lower bits of ladder so the weeds and grass of the background appear in front of the ladder, but when I madethe quick page using the same setting, I chose not to erase any bits of ladder. I can't decide which way I prefer the ladder to appear.
3. Choose your poser(s). If, like me, you collect fairy posers, it may be difficult to choose. It is important to remember to properly credit the poser designer.
For tag 1 I used a poser made by Lisa K, of Sophisticated Imaging, the same designer who created the poser included in the kit. I used a poser called Cookie - Candy Fae - Strawberry 2.
So, the colour challenge kit is finished & posted & although I feel really crumby & my body is screaming "Go back to bed!", my creative drive has screamed back "Play, play, play."
Play won out. I'm going to do the tutorials for the tags first, before I crash & am too tired to type.

I used Adobe Photoshop Creative Suite for all of my projects with this kit.
Tag 1 acually inspired both quick page 1 & a February desktop calendar. I added extra elements to the page & calendar. The poser from Lisa of Sophisticated Imaging, made it onto my calendar, but I also dipped into my poser tube collection (part of the fun).
1. Open a new transparent canvas 700 pixels x 700 pixels. For tag 1 use the entire canvas, for tag 2 use your circular selection tool to create an oval shape. Fill with the background of choice (tag 1>paper 4, tag 2>paper 1).
2. Choose your elements. The choice of detailed fantasy background papers in the first step means a small number of elements can make a bigger impact, especially if you experiment with effects. I love using the one step effect found in Creative Suite called bevel & emboss. If using Paint Shop Pro, experiment with the various 3D effects, but I wouldn't recommend the emboss tool in PSP since it works very differently in PSP than in Photoshop. For tag 1 I used frog 2 & butterfly 2 & applied bevel & emboss effect to both, while in tag 2 I used the ladder, flipped horizontally. In tag 2 I selectively erased lower bits of ladder so the weeds and grass of the background appear in front of the ladder, but when I madethe quick page using the same setting, I chose not to erase any bits of ladder. I can't decide which way I prefer the ladder to appear.
3. Choose your poser(s). If, like me, you collect fairy posers, it may be difficult to choose. It is important to remember to properly credit the poser designer.
For tag 1 I used a poser made by Lisa K, of Sophisticated Imaging, the same designer who created the poser included in the kit. I used a poser called Cookie - Candy Fae - Strawberry 2.
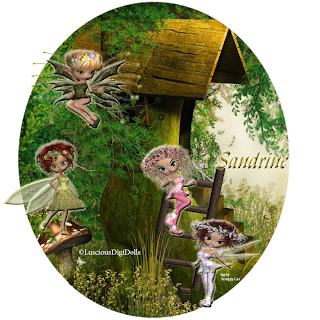
For tag 2 I raided my file of posers created by Luscious Digi Dolls. I used Santa's Christmas Pixies4 -5, Sno 5, Shea 4, and Enchanted Autumn 4. In tag 1 I simply applied the bevel & emboss effect, but in tag 2, I applied the bevel & emboss effect & an outer glow effect.
4. Now it's time for your text. For tag 1 I used Nuptia BT. I applied an effect called groovy, which I copied from Photoshop Elements. the one step effect applies an inner shadow, an inner glow, & an outer glow to the name portion of the tag. I reduced the font size to 2 for the tag information. For tag 2 I used a font called Lynda Cursive for the name & applied the bevel & emboss effect & an outer glow. The tag information is in Minion Pro size 4.
5. When you are happy with your tag, it's time to merge visible & save in png format. You may also choose to save an unmerged version in your software's default format so you can easily make duplicate tags with different names.

I also created 2 quick pages & a February 2011 desktop calendar & placed them in a mediafire folder. There are also individual download links for quick page 1, quick page 2, and February 2011 desktop calendar.
Please keep in mind that these quick pages & the calendar are personal use only.

Enjoy.


1 comment:
Thank you so much for this post. I want to let you know that I posted a link to your blog in CBH Digital Scrapbooking Freebies, under the Page 7 post on Jan. 14, 2011. Thanks again.
Post a Comment