Tuesday, February 2, 2010

Kupid Kitty

The Valentine edition of the starving artists train is now chugging into stores & Wench Designs' contribution is a really cute tagger kit called Kupid Kitty http://thecreativitybox.com/index.php?main_page=product_info&cPath=290&products_id=4774The kit is created at 72 dpi, so I don't have any freebie qp for you, but I did do a layout with the kit, featuring my furry baby girl Smudge, & my brother's two furry babies. I also did 2 tags with accompanying tutorials.


Tutorial for “Tease the Cat” tag

What I used:
Starving Artist tag kit from Wench Designs called Kupid Kitty http://thecreativitybox.com/index.php?main_page=product_info&cPath=290&products_id=4774
Adobe PhotoShop Creative Suite 4.0 (Make sure “show transform controls” is checked to allow easy resizing of elements.)

What I did:
1. Open a new transparent canvas 700 pixels x 700 pixels. Use the circular selection tool to create a large circle & fill with background of choice (paper 23).
2. Create a new layer & use the preset shapes tool to create a heart in the upper left area. Fill with background of choice (paper 18) by using new fill layer with “use previous layer to create clipping mask” checked. Highlight both the shape layer & the shape fill in the layers palette, right click in the layers palette & choose “merge layers” so the shape & its fill become a single unit. Apply bevel & emboss effect. (If you are using PSE, use the “hard edge” effect; in PSP apply drop shadow.)
3. Select a cat element (cat 2), a mouse element (mouse 3), & a fish bone element (bone 2). Copy & paste, resizing as needed, & positioning so the mouse is teasing the cat with the fish bone. Apply bevel & emboss effect to each element.
4. Choose a candy heart sentiment (candy heart 3). Copy & paste, resizing & positioning as desired. Apply bevel & emboss effect.
5. Choose a decorative element (butterfly 2), copy & paste, resizing & positioning as desired. Apply bevel & emboss effect.
6. Enter desired text. To make text curve, highlight the text in layers palette, right click & choose “warp text” then adjust settings as desired. In this case I used Cataneo BT 14 & applied a style (true love bevel 3 from Krissy’s Scraps). Use a smaller font for tag information.


7. Merge visible & save.


Tutorial for “Hey babe, be mine?” tag

What I’m using:
Starving Artist tag kit from Wench Designs called Kupid Kitty http://thecreativitybox.com/index.php?main_page=product_info&cPath=290&products_id=4774
Poser by Sinful Mindz http://sindfulmindz.blogspot.com
Adobe PhotoShop Creative Suite 4.0 (Make sure “show transform controls” is checked to allow easy resizing of elements.)

What I did:
1. Open a new transparent canvas 700 pixels x 700 pixels. Fill with background of choice (paper 19).
2. Copy & paste heart box 2. Resize & position as desired. Apply bevel & emboss effect.
3. Copy & paste poser of choice (maverick Cherry Luv 3), resizing as needed & positioning as desired. Apply bevel & emboss effect.
4. Choose an element for poser to hold, if appropriate (box 1). Copy & paste, resizing as necessary & positioning in or by poser’s hand. Apply bevel & emboss effect.
5. Choose a candy heart sentiment (candy heart 4). Copy & paste, resizing & positioning as desired.
6. Enter desired text. In this case I used CaslonNo540SwaD, using colours from the poser. I started font size at 14, but adjusted text size manually to be visually pleasing. Use a small font (Arial 3) for tag information.
7. Merge visible & save.

Enjoy.

Sunday, January 31, 2010

DSO January Colour Challenge


Between a computer crash & illness, I never got the kit I started finished, so I've made a freebie quick page with the little I have completed.
I hope to eventually finish the kit. In the meantime, enjoy.

Monday, January 25, 2010

Lovely Valentine


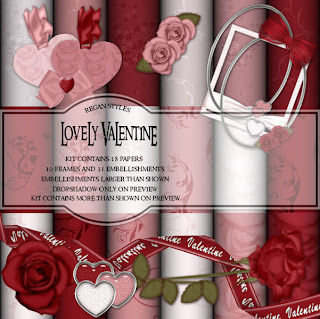
Scraps by Rags has recently placed a formerly exclusive kit into her other stores. Lovely Valentine is ideal for creating a lovely tag or page, a tag size kit created at 300 dpi.


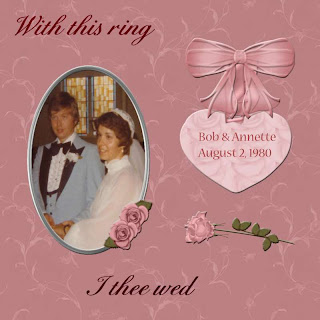
I've made a layout, matching quick page for you, a tag & tutorial.

Tutorial for “My Heart is Yours Forever”

What I used:
“Lovely Valentine” kit from Scraps by Rags, tag size at 300 dpi
http://digifoxsstudio.net/store/index.php?main_page=product_info&cPath=1_46&products_id=1842
Poser from Medi Evil Creations http://medievilcreations.blogspot.com/
Adobe Photoshop Creative Suite 4.0 (Make certain “show transform controls” is checked to allow for easy resizing of elements.)

What I did:
1. Open a new transparent canvas 700 pixels x 700 pixels. Fill with the background of choice (paper 17).
2. Create a new layer. Use the preset shape tool to create a heart, fill with background of choice (paper 6) by choosing “new fill layer” with “use previous layer to create a clipping mask” checked.
3. Choose a flower (rose cluster 1). Copy & paste, resizing if necessary, & positioning in a corner. Repeat for the remaining 3 corners.
4. Copy & paste your poser of choice (medi-v-day love 4). Resize & position as desired. Apply bevel & emboss effect.
5. Choose a bow (heart bow 6). Copy, paste, resize as needed, & position at tip of heart. Apply bevel & emboss effect.
6. Enter desired text. I used Bix Antique Script HMK Bold 12 for main text & Monotype Corsiva 12 for name, applying a style from TNT chocolate cherry collection. Use a smaller font (Arial 3) for tag information.
7. Merge visible & save.

Enjoy

Wednesday, January 20, 2010

In the Moment


I've done 2 layouts with a matching quick page set & a tag with tutorial.


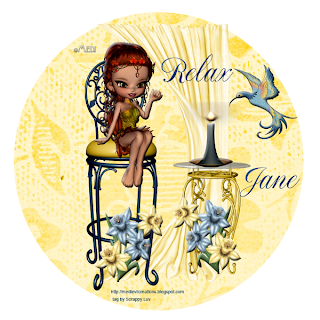
Tutorial for “Relax” tag

What I used:
Kit from JT’s Designs called In the Moment
http://yourscrapaddiction.com/index.php?main_page=product_info&cPath=1_137&products_id=1572 (full)
http://yourscrapaddiction.com/index.php?main_page=product_info&cPath=1_137&products_id=1573 (tag)
Poser from MediEvil Creations http://medievilcreations.blogspot.com
Adobe Photoshop Creative Suite 4.0 (Make sure “show transform controls” is checked for easy resizing of elements.)

What I did:
1. Open a new transparent canvas 600 pixels x 600 pixels. Use circular selection tool to create a circle. Fill with desired background (paper 14).
2. Copy & paste background elements (curtain2, chair2, table). Resize & position as needed.
3. Copy & paste foreground elements (blue candle, humming bird2, daffodil bouquet2); flip a second copy of the flowers. Resize & position elements as desired & apply bevel & emboss effect to each element.
4. Copy & paste your choice of posers (Adelphia3). Resize & position appropriately.
5. Enter desired text. In this case I used Notnorval HMK 14, applied bevel & emboss & then applied a blue glass style. Use a smaller font (Arial3) for tag info.
6. Merge visible & save.
Enjoy


Monday, January 18, 2010

Heartfelt

Designs by Denise has a scrapkit called Heartfelt that I've used to make you a quick page based on a layout & a tag with tutorial.

Tutorial for “Heartfelt” tag

What I used:
“Heartfelt” scrap kit from Designs by Denise
http://digifoxsstudio.net/store/index.php?main_page=product_info&cPath=1_41&products_id=67
Poser from Bits N Bobs http://scrappingbits.blogspot.com
Adobe PhotoShop Creative Suite 4.0 (Make sure “show transform controls” is checked for easy resizing of elements.)

What I did:
1. Open a blank transparent canvas 700 pixels x 700 pixels. (My final tag is 678 pixels x 639 pixels.) Use preset shapes rounded rectangle to create a square or rectangle. Check off “use previous layer to create clipping mask” & create a new fill layer with paper of choice (4b). Highlight shape & fill layers in the layer palette, right click, choose “link layers”.
2. Create a new layer, use preset shapes to create a heart shape. Use move tool to slant heart. Repeat the steps in step 1 to fill heart with paper of choice (3b) & link the shape to the fill. Apply the bevel & emboss effect.
3. Choose either a frame or a heart charm (heart charm with bow). Copy & paste, & adjust size & position to suit the background.
4. Copy & paste a border of choice (lace edge 1), resizing & positioning along top edge of tag. Copy & paste that border, flipping it to go along bottom edge of tag.
5. Copy & paste flower of choice (2). Resize & position as desired.
6. Copy & paste poser of choice (Cookie New Year 4), resize & position as desired.
7. Enter desired text. In this case I used NotNorvalHMKBold 14 & applied Krissy’s Scraps True Love Bevel Style. Use a smaller font (Arial 3) for tag info.
8. Merge visible & save.

Enjoy.

Saturday, January 9, 2010

The Game of Love

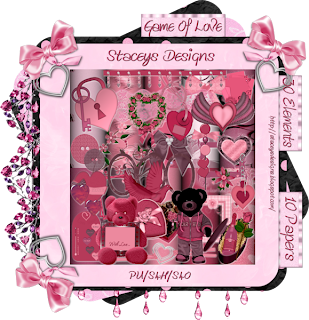
Ok. I'm starting with an apology - I responded so quickly when I saw Stacey's new kit "The Game of Love" that I forgot to specify full size in my CT request & ended up with the default tag size. So I did a couple of layouts & a tag with tutorial, but because the tag kit is 72 dpi, I didn't do any quick pages. The kit is available in full size though, if you are interested.

I used pictures from a slide show presentation created for my aunt & uncle's 60th wedding anniversary a couple of years ago to create the layouts.I kept the tag simple, no extra poser needed.
Tutorial for “Luv & Hugs” tag

What I used:
Tag size kit from Stacey’s Designs called “The Game of Love”
http://yourscrapaddiction.com/index.php?main_page=product_info&cPath=1_116&products_id=1511
Adobe Photoshop Creative Suite 4 (Make sure “show transform controls” is checked for easy resizing of elements.)

What I did:
1. Open a new transparent canvas 700 pixels x 700 pixels. Use preset shapes to create a large heart. Choose new fill layer with “use previous layer to create clipping mask” checked & fill heart shape with background of choice (paper 8).
2. Copy, paste & resize a bow of choice (bow 2) & position as desired. Apply bevel & emboss effect.
3. Copy & paste teddy bear element, positioning off to one side. Apply bevel & emboss effect.
4. Enter desired text. In this case the main text is Candice 14 with bevel & emboss effect, while the name is Chopin Script 12. Use a small font for tag info.
5. Copy & paste a floral element (decorated flower), resizing & positioning as desired. Apply bevel & emboss effect.
6. Merge visible & save.

When I logged onto the internet last night, it was the first time in over 3 days. Yikes - the inbox overflowth & I'm still not feeling well & keep having to lay down. Down but not out.

So far the snow isn't too bad here. I hope everyone had a safe holiday.

Enjoy.

Friday, January 1, 2010

Assortment using some KiKeKa kits


I'm sick (again, drat) so I've been somewhat absent. I notice some awards in my chat box & I hope it's ok if I wait til I feel well to pick them up.

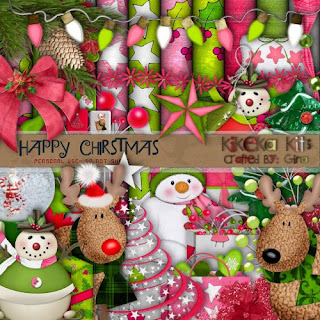
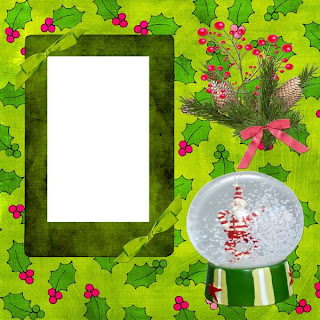
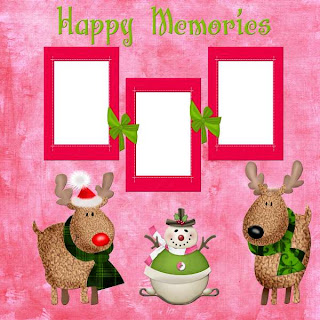
I picked up a cute kit from KiKeKa back in December & am now able to post what I made with it, 2 quick pages & a tag (didn't get a tut written.

http://www.scrappinbratz.com/shoppe/index.php?main_page=product_info&cPath=19_32&products_id=2638 (tag)http://www.scrappinbratz.com/shoppe/index.php?main_page=product_info&cPath=19_32&products_id=2637 (full)


I've joined the CT for KiKeKa (crafted by Gina). She has an absolutely adorable new kit called "Where Fairies Reside".

http://www.scrappinbratz.com/shoppe/index.php?main_page=product_info&cPath=19_32&products_id=2828

Now your first reaction might be that this kit will make great girlie layouts, & you'd be right, but I decided to show how the kit can be used to showcase photos of boys. I've done 3 layouts using pictures of a friend's little boy, & made one layout into a freebie quick page for you.


Isn't he a sweetie? I loved how this kit let me highlight the photos & the natural playfulness of the little guy.

Enjoy.