 I just love doing Creative Team work - can you tell? lol
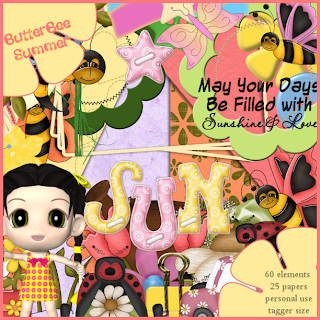
Heartbeatz Creationz latest kit is a very cheerful "Butterbee Summer" & it's 50% off!

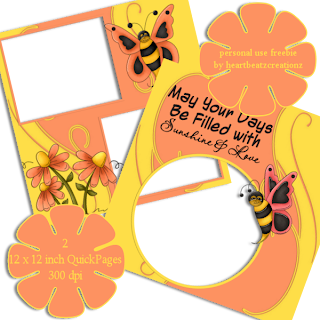
Jay's already done some very cute quick pages that are available as an in-store freebie that I snatched up as soon as I saw them, but lucky for me, she's allowing me to make some more.
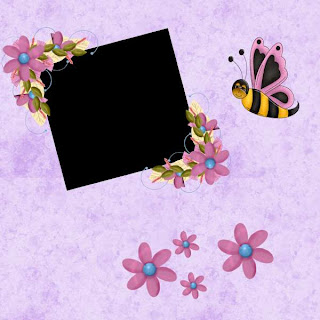
So I've done a tag, with tutorial, & 2 quick page freebies. 
 Tutorial for “Don’t Worry, Bee Happy” tag
What I used:
An absolutely adorable kit by Heartbeatz Creationz called “Butterbee Summer”
http://heartbeatzcreationz.com/index.php?main_page=product_info&cPath=1_84&products_id=2377
Paint Shop Pro XI
What I did:
1. Open a blank canvas 8oo pixels x 800 pixels. Use preset shape oval to create a large oval & fill it with the background of your choice (paper 6).
2. Choose a background graphic (element 7). Copy & paste, resizing if necessary. Apply Effect>3D>inner bevel>bead.
3. Choose a bee or a butterfly (element 6). Copy & paste, resizing as needed & positioning as desired. Apply inner bevel>bead.
4. To apply text around the outside, select your colour & font & be certain that the text icon that comes up is the A with the curve. I used Baa Book HMK Bold size 14 in a bright orange. To place text inside the tag, move well away from the tag before clicking to type & move the text into place afterwards. I used size 16 for the name, in blue. Use a smaller font for the tag information (Arial 2).
5. Merge visible & save.
 Enjoy.


1 comment:
Thank you so much for this Freebie. I want to let you know that I posted a link to your blog in Creative Busy Hands Scrapbook Freebies Search List, under the Page 7 post on Jul. 13, 2009. Thanks again.
Post a Comment