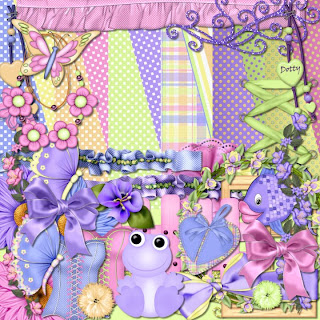

JT Designs has a very cute kit called "Dotty" out right now & it's 50% off!

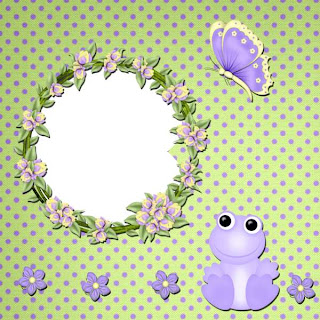
I had fun working with this kit! It's definitely worth the money. I made a tag, with tutorial, of course, a quick page freebie & then did 2 layouts, 1 with the quick page.
 Tutorial for “Dance to the Music” tag
What I used:
Cute tag kit by JT’s Designs called “Dotty” http://www.scrappetizing.com/store/index.php?main_page=index&manufacturers_id=45&zenid=d52d845f0a4fb784d7b31c0f077ea64e
Poser from Graphics by Belle http://tech.groups.yahoo.com/group/graphics-by-belle
Paint Shop Pro XI
What I did:
1. Open a blank, transparent canvas 750 pixels x 750 pixels. Use preset shape to create a large heart & fill it with the background of choice (paper 9).
2. Select a flower or ribbon that is long & narrow (branch 2). Copy & paste, using Pick tool to adjust size, & to move to one side of the heart. Use Effects>3D>inner bevel>bead. Repeat, mirroring the placement to the other side of the heart.
3. Select a fence (fence 3). Copy, paste & adjust for size, placing in the lower portion of the heart. Apply inner bevel>bead effect.
4. Select a flower (mini flower1 & 2). Copy, paste, adjust for size as needed & place along bottom of fence, repeating as desired.
5. Select a butterfly (butterfly 7). Copy, paste, & adjust for size, placing near the cleft in the heart. Apply inner bevel>bead effect.
6. Copy & paste the poser or tube of your choice (Gummie5, with flower recoloured to match tag), adjusting for size as needed.
7. Create text in the colour & font desired. In this case, I used Candice 12 & applied the inner bevel>bead effect. Use a smaller font (Arial 3) to place tag information along the bottom.
8. Merge visible & save.

Enjoy.


No comments:
Post a Comment