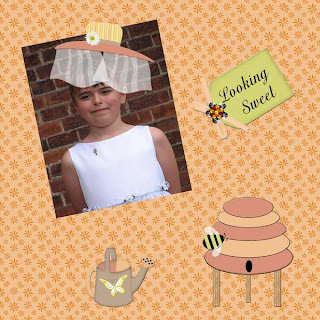
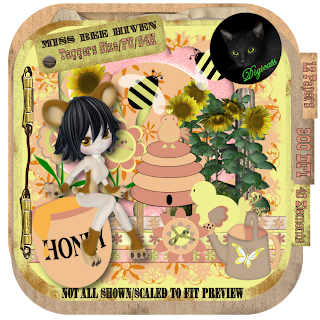
 This post features the second kit in Digicats (and Dogs) new series, a cute called Miss Bee Hiven.
Tutorial for “Bee My Honey” tag
What I used:
An adorable new tagger size (300 dpi) kit from Digicats (& Dogs) called “Miss Bee Hiven” which includes 2 delightful posers http://www.scrappetizing.com/store/index.php?main_page=product_info&cPath=65_194&products_id=1336
Adobe Photo Shop Creative Suite 4.0
(For ease in resizing make sure Show Transform Controls is checked. In PSE the equivalent is Show Bounding Box, while in PSP make sure your Pick tool is operative, then simply adjust item size by moving the corners of the box around it.)
What I did:
1. Open a blank transparent canvas 600 pixels x 600 pixels & used preset shapes to draw a large heart. Open the paper of choice (paper 8), & use define pattern to make it available as fill. 2. Fill the heart shape with the background paper by using new fill layer making sure use previous layer to create clipping mask is checked.
3. Choose an element as supplementary background. I chose the sunflower cluster. Copy & paste the element into the center of your tag, adjusting size as desired & using the lasso tool to trim as necessary. Set opacity to 80% or to whatever setting fades your element slightly into your background.
4. Choose a bird (tweeter 3), then copy, paste, & resize as needed. Position as desired, in this case, perched upon the fencepost of the sunflower element. Apply bevel & emboss effect or an equivalent effect. (I use hard edge in PSE & inner bevel>bead in PSP.)
5. Choose a bee element (bee 1). Copy & paste, resizing as necessary. Position on a flower near the top, especially if you plan to copy this tag exactly since the bee also serves the wording, as a substitute for the word ‘be’. Apply bevel & emboss effect to the bee.
6. Choose a honey pot (honey pot 2). Copy & paste, resizing as necessary. Apply bevel & emboss effect. When positioning this element, keep in mind that the word ‘honey’ on the element completes the planned wording of the tag.
7. Copy & paste your poser of choice. I chose Hon E. Bear 1 from the kit, but any appropriate poser will do. (*If you use a poser from outside the kit, remember to add appropriate credit information to your finished tag.) Resize as needed, positioning as desired. Apply bevel & emboss effect, followed by drop shadow effect.
8. Enter desired text upon the tag. I used Palermo 10 because it looked harmonious with the ‘Honey’ on the pot. Use a smaller font to add tag information near the bottom of the tag. (See * above.)
9. Merge visible & save.
 Enjoy.


1 comment:
Thank you so much for this Freebie. I want to let you know that I posted a link to your blog in Creative Busy Hands Scrapbook Freebies Search List, under the Page 6 post on Jul. 17, 2009. Thanks again.
Post a Comment