

 Tutorial for “Bee-Loved” tag
What I used:
Scrap kit by Crystal’s Designs called “Beautiful Dreamer” http://digifoxsstudio.net/store/index.php?main_page=product_info&cPath=1_38&products_id=772
Graphic extracted after running a frame action by Roseli Scraps http://www.mediafire.com/?sharekey=2321a75da143a94219747bd91027d4dd2984530e1bd0ed43
What I did:
I used Adobe PSCS 4 to create this tag.
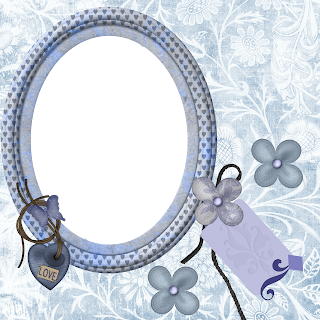
1. Open a blank canvas 600 pixels x 600 pixels. Select desired background & make it available using Edit>Define pattern (paper 2). Use preset shapes to create a large heart. Use Layer>New fill layer with “use previous layer to create clipping mask” checked & fill heart with background.
2. Choose a flower (daisy 3), copy, paste, centering & resizing as needed. Apply bevel & emboss effect.
3. Download bee graphic or use a poser or tube of your choice. Copy, paste, resize as needed & position as desired.
4. Type desired text. In this case I used Bix Antique HMK Bold, in purple, size 12 for name & size 10 for tag title, then applied a glitter style. Use a smaller font for tag information (Arial 2).
5.Merge visible & save.
 Enjoy
Enjoy


2 comments:
Mary, you've really done a great job with this kit! I love your results! Thank you.
Hugs,
Crystal
Thank you! Your blog post will be advertised on the DigiFree Digital Scrapbooking Freebie search engine today (look for timestamp: 26 Jun [LA 07:00pm, NY 09:00pm] - 27 Jun [UK 02:00am, OZ 12:00pm] ).
Post a Comment