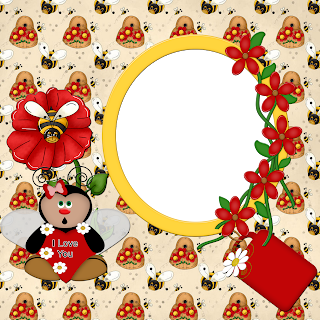
KnC Scrapz has an adorable tag kit called "Bee N Buzy" http://heartbeatzcreationz.com/index.php?main_page=product_info&cPath=1_107&products_id=1382
currently on sale 40% off
I have made a quick page for you to download now, a tag with tutorial, & a September desktop calendar that I will post here in late August.

Tutorial for “Whadz the Buzz” tag
What I used:
Tag kit by KnC Scrapz called “Bee N Buzy” http://heartbeatzcreationz.com/index.php?main_page=product_info&cPath=1_107&products_id=1382
Free poser from Ratanga http://ratanga.yuku.com
What I did:
I used Adobe PSCS to create this tag.
1. Open new transparent canvas 700 x 700 pixels.
2. Use the marquee tool to draw a large square in the center of the canvas. Fill with the background of your choice (paper 3).
3. Copy, paste & resize poser of your choice (8z0jyo), positioning a little off center. Apply bevel & emboss effect, then apply drop shadow.
4. Copy, paste & resize elements of your choice (bee 14 & 15). Apply bevel & emboss effect.
5. Enter desired text in your choice of colour, font & size. I used white, Comic Sans sizes 14 &16. Apply bevel & emboss effect. Use a smaller font to add tag information (Arial 3).
6. Merge visible & save.
Enjoy


No comments:
Post a Comment