
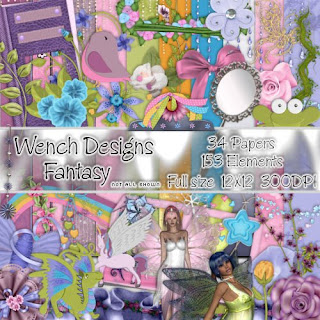
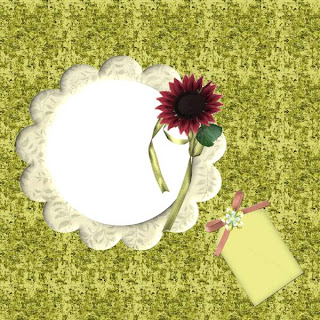
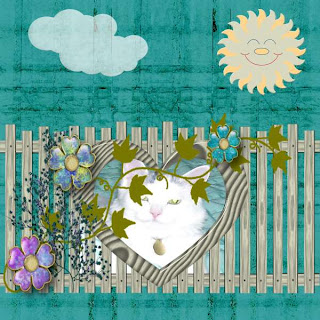
 I was a very happy scrapper when Vella let me play with this one & I have a tag with tutorial, and 2 freebie quick pages for you.
Tutorial for “Fantasy” tag
What I used:
Gorgeous kit from Wench Designs called “Fantasy”, available in full http://thecreativitybox.com/index.php?main_page=product_info&cPath=1_125&products_id=3838&zenid=3b5cebfeb524c65fee8d426813a468c1
& tag size, http://thecreativitybox.com/index.php?main_page=product_info&cPath=1_125&products_id=3837 with 10 Posers from Karina Kat (www.KairinaKatKreations.blogspot.com) included.
Adobe Photoshop Creative Suite 4.0
(Make sure “show transform controls” is checked, for easy resizing.)
What I did:
1. Open a new transparent canvas 600 pixels x 600 pixels. Use circular selection tool to draw a large circle & fill with background of choice (paper 15).
2. Choose fantasy creature element (flying unicorn 1). Copy, paste, & resize as needed. Apply bevel & emboss effect.
3. Choose one of Karina’s posers, or any poser or tube of your choice (Elisa 14 pink fairy). Copy, paste, & resize as needed.
4. Choose a type colour & font (Bix Antique Script 14) & enter desired text onto tag. Apply style (Yarrow glitter 10), if desired. Use a smaller font for tag information (Arial 2).
5. Merge visible & save.

Please remember, these quick pages are for personal use only.


 I also made the Little Sweetie layout into a
 Tutorial for “Dance to the Rhythm of Life” tag









 Tutorial for “Don’t Worry, Bee Happy” tag
 Enjoy.

 Tutorial for “Dance to the Music” tag


 and for 1 photo, of her & her hubby, I used a freebie kit from her blog, her contribution to the summer twilights blogtrain


