 Deb of Deb's Design currently has a great deal on - you can buy her entire store & get all new products she makes from now until the end of 2009 for a low price (that's the deal I opted for) or you can get what you want of her products for 50% off. She sells at different establishments, but I picked the deal up at Butterfly Blush Designs. One of the goodies included was a kit called Enchanting.
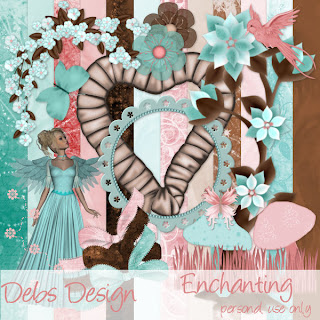 I got this idea for a special tag. It's up at the top of this post. I hope she likes it -it's a surprise!
anyway, here's the tutorial if you want to make one like it:Tutorial for “Enter into Enchantment” tag
What I used:
Kit from Deb’s Design called “Enchanting” http://butterflyblushdesigns.com/store/index.php?main_page=product_info&cPath=8_11&products_id=88
Adobe Photoshop Creative Suite 4
{Make sure “Show Transform Controls” is checked off, for easy resizing of elements.}
What I did:
1. Start with a transparent canvas 700 pixels x 700 pixels. Using the circular selection tool draw an oblong circle that exits off the bottom of the canvas, so that it appears squared off at the bottom. Fill with desired background (paper08).
2. Create new layer. Draw another squared off oblong shape the same way as in step 1, but centering it & making it somewhat shorter & narrower. Fill with desired background (paper01). Apply inner glow effect & outer glow effect to this layer. The desire is to create the appearance of an opening into a cave.
3. Select your desired elements. In this tag I used tree, shroom1, flowerbranch1, bird2, & butterfly3, as well as angel1.
4. Copy & paste tree, resizing as necessary & positioning off to one side. Apply bevel & emboss effect.
5. Copy & paste the mushroom, resizing & positioning as desired. Apply bevel & emboss effect. Repeat.
6. Copy, paste, & resize, as needed the flowering branch. Position as desired along top of “cave” so that it flows naturally. Apply bevel & emboss effect.
7. Copy & paste the bird, resizing as needed & positioning in upper left area. Apply bevel & emboss effect.
8. Copy & paste the butterfly, resizing as needed & positioning as desired. Apply bevel & emboss effect.
9. Copy & paste the poser. Resize as needed & position as desired. Apply inner glow effect & then bevel & emboss effect.
10. Choose colour & font & apply desired text & name. In this case I used CaslonNo540SwaD 24 with italics applied & then used Creative Intentionz Exquisite Style 4 which both beveled & applied glitter to the text. Use a smaller font (Arial 2) for tag information.
11. Apply visible & save.
Enjoy.


No comments:
Post a Comment