Thursday, January 20, 2011

A Steampunk Kinda Love


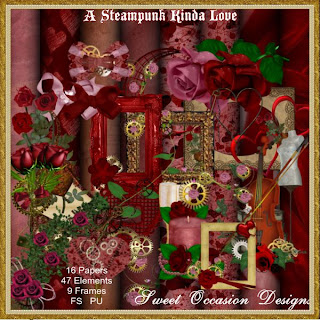
Sweet Occasion Scraps has a new kit called A Steampunk Kinda Love. I've made 2 quick pages & a tag.


I'm up with insomnia & a headache, so the tut for the tag is gonna be brief. CPRP stands for Copy-Paste-Resize-Position, so I don't have to type so much.


1. Start with a transparent 700 pixel x 700 pixel canvas, use the circular selection tool & fill with background of choice (cm sj2).
2. Choose a circular frame (image1), CPRP, adjusting so the frame encircles your tag base.
3. Choose a center element (I chose image 3, a heart). I applied a drop shadow, & an outer glow, changing the default yellow to pink.
4. I chose a rose (image12), CPRP x 4, playing with the positioning until it was the way I wanted. I applied bevel & emboss to the roses.
5. I just found the perfect poser, by Wyked Soulz, MissValennia set4-3. I applied bevel & emboss to the poser.
6. A special thanks to SandieLuvsBears who introduced me to a cute font called LokiCola 20 that I used for the name text. I applied the bevel & emboss effect to the text. I switched to Arial 3 for the tag info.
7. When your tag looks the way you want it, do a final save.

Enjoy

Wednesday, January 19, 2011

Diagnosis Love Sick


Ok - the title of Stacey's Designs latest kit has me flashing back to high school & my best friend's chronic condition, but the actual kit, available in both full & tag sizes, is cute, & currently on sale.
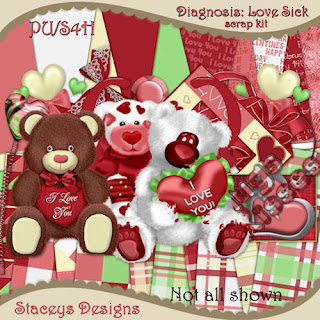


I've made a set of 2 quick pages, as well as a couple of tags.
As usual, I've used Adobe Photoshop Creative Suite to create everything, with "show transform controls" enabled. I love working with my Paint Shop Pro to create from scratch, but for tag making I prefer PSCS with its one touch style effects.

1. Tag 1 begins with a 700 x 700 pixel canvas & the heart preset shape, checking off "use previous layer to create clipping mask" in order to fill the heart with background (paper14).
2. Next I chose the double heart frame. besides the usual copy, paste, resize & position, (hereafter referred to as CPRP), I applied the following effects: bevel & emboss, drop shadow, inner glow, & outer glow, changing the colour associated with the effects to light pink.
3. To make whatever images you put into the frame stand out, you may choose to put a swatch of a contrasting colour behind the frames. highlight the swatch area & selectively erase any contrasting colour outside the frames. if you use photos in the frames this step may not be needed.
4. Choose the images to go into the frame & CPRP. I used the head & shoulders of posers by Medievil Creations, from a special fairytale collab (medi-cartiere1 & medi-evangeline6), but small personal photos would also work well. I applied bevel & emboss to the posers.
5. Choose a word art for the tag (be mine) & CPRP or type text in the font of your choice. I applied the same effects as in step 2 to the word art, but changed the colour used in the effects to white. I used Baroque 8 for the additional text, in white, with no additional effects.
6. Choose another element (engagement ring), CPRP & apply bevel & emboss effect.
7. Use a small font (Arial 3) for the tag information.
8. When finished, do a final save.


1. Tag 2 begins with a 700 x 700 pixel canvas. Use the circular selection tool to create a circle & fill it with your background of choice (paper 11).
2. Choose a word art (hugs and kisses), CPRP, apply bevel & emboss & outer glow, changing the colour from default yellow to white.
3. Choose your poser(s) & a cuddly-type element. I'm using posers from PSP Girl, one ptu (Kirsy6) & one ftu from her blog (Troll6), & the teddy bear element from the kit. Besides the usual CPRP, I applied the bevel & emboss effect to each.
4. Depending on posers & elements used, you may or may not have room for additional text. In this case I felt additional text would appear too crowded, so i simply added the tag information in a small font (Arial3).
5. When finished, do a final save.

Enjoy
Monday, January 17, 2011

Love Whispers


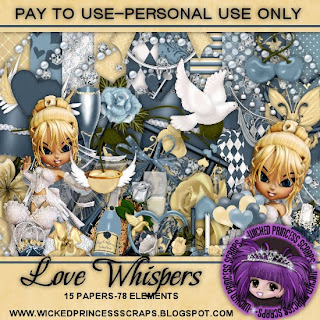
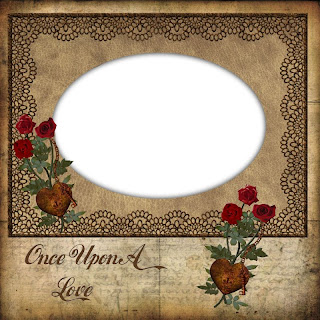
Wicked Princess has a scrumptious new kit out called Love Whispers, available in both full size & tag size.

Even though I'm still sick I had to play with this one & I have a host of goodies for you.

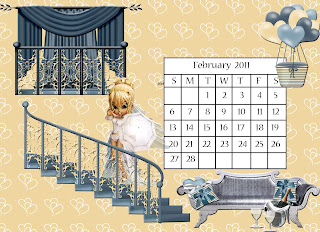
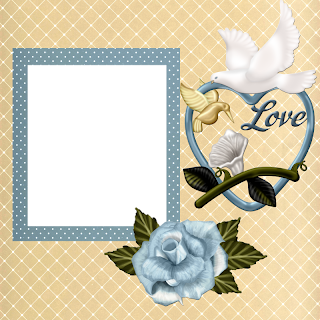
Besides 2 tags with tutorials, I did a romantic February 2011 desktop calendar & 2 quick pages.
The zip with the goodies is on mediafire.

Both tags were made using Adobe PSCS. Make sure "show transform controls" is checked.
Tag 1 ended up being rather different than it started out as my original idea just didn't look right, but I'm going to just give you the steps to the end result. There are 3 lovely posers by Lisa of Sophisticated Imaging included in the kit, & I used them in tag 1 & the calendar, but in tag 2 I used a lovely little ballerina poser made by Medievil Creations.

Begin with a transparent canvas 700 pixels x 700 pixels.
Tag 1 fill with background of choice (paper 2) & then on a new layer use custom shapes to create a heart you will fill with another background of choice (paper 14) by checking "use previous layer as a clipping mask". I applied a plastic acrylic style to the heart.
Tag 2 use your circular selection tool to create a circle & fill it with your background of choice (paper 2).
Tag 1 now needs the background elements of choice (champagne, champagne glass, diamond scatter) by copy, paste, resize as necessary & arrange as desired. I used 2 champagne glasses & had to rearrange the diamond scatter several times before it looked the way I wanted. Next, copy & paste the doors. Choose a decoration for the door (rose heart wreath, with a small swatch of paper 3 positioned behind) & copy, paste, resize & position the decoration as desired. I placed a small swatch of paper behind the decoration I chose because I wanted to put text within the wreath & the text didn't show up well on the door glass. Choose the poser you wish to use (Lisa -Starlet 1) & copy, paste, resize & position as desired. Placing elements in the poser's hands (champagne glass, heart key) depends upon your poser choice & element choice. I applied the bevel & emboss effect to all the elements & the poser in tag 1.
Tag 2 is much simpler. After copying, pasting & resizing, I placed the heart wreath frame so that it encircled the tag. I chose a center element (winged heart) to copy, paste, resize, position & apply bevel & emboss to. I also applied bevel & emboss effect to my poser of choice (Medi - flake ballerina 8) after I had copying, pasting, resizing & positioning.
I always experiment with different fonts before deciding what looks best & I often use a different font for the tag message than for the name. Tag 1 used NimbusSanT for the text & OttumHmkBold for the name, while tag 2 used Johannes for the text & MilanoLet for the name.
I applied the same blue acrylic style I used on the heart in tag 1 to the text in tag 1, while in tag 2 I applied an effect called groovy, which is a one step application of inner shadow+outer glow+inner glow. I used a small font for the tag information in both cases.
When you are happy with your tag do a final save.


Enjoy.

Thursday, January 13, 2011

Fairy Tale - goodies 4 U


Ok, I picked up this really cute kit by Rebellious Scraps called Fairy Tale & I was really excited to work with it because it has some really cool background papers.
Unfortunately I have been really hammered by the impact of bacterial & infections, & I decided that, if at all possible, I wanted to actually get a colour challenge kit finished in time for others to potentially use my kit in the challenge. So I told myself I couldn't work with the Fairy Tale kit until I finished the challenge kit.
So, the colour challenge kit is finished & posted & although I feel really crumby & my body is screaming "Go back to bed!", my creative drive has screamed back "Play, play, play."
Play won out. I'm going to do the tutorials for the tags first, before I crash & am too tired to type.
I used Adobe Photoshop Creative Suite for all of my projects with this kit.

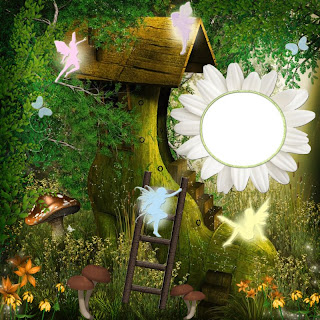
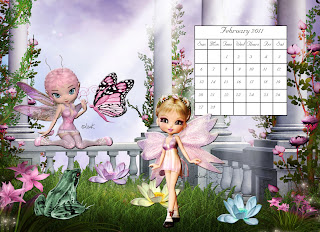
Tag 1 acually inspired both quick page 1 & a February desktop calendar. I added extra elements to the page & calendar. The poser from Lisa of Sophisticated Imaging, made it onto my calendar, but I also dipped into my poser tube collection (part of the fun).

1. Open a new transparent canvas 700 pixels x 700 pixels. For tag 1 use the entire canvas, for tag 2 use your circular selection tool to create an oval shape. Fill with the background of choice (tag 1>paper 4, tag 2>paper 1).

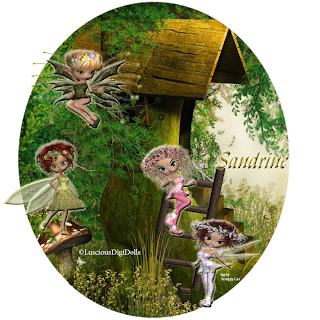
2. Choose your elements. The choice of detailed fantasy background papers in the first step means a small number of elements can make a bigger impact, especially if you experiment with effects. I love using the one step effect found in Creative Suite called bevel & emboss. If using Paint Shop Pro, experiment with the various 3D effects, but I wouldn't recommend the emboss tool in PSP since it works very differently in PSP than in Photoshop. For tag 1 I used frog 2 & butterfly 2 & applied bevel & emboss effect to both, while in tag 2 I used the ladder, flipped horizontally. In tag 2 I selectively erased lower bits of ladder so the weeds and grass of the background appear in front of the ladder, but when I madethe quick page using the same setting, I chose not to erase any bits of ladder. I can't decide which way I prefer the ladder to appear.

3. Choose your poser(s). If, like me, you collect fairy posers, it may be difficult to choose. It is important to remember to properly credit the poser designer.
For tag 1 I used a poser made by Lisa K, of Sophisticated Imaging, the same designer who created the poser included in the kit. I used a poser called Cookie - Candy Fae - Strawberry 2.
For tag 2 I raided my file of posers created by Luscious Digi Dolls. I used Santa's Christmas Pixies4 -5, Sno 5, Shea 4, and Enchanted Autumn 4. In tag 1 I simply applied the bevel & emboss effect, but in tag 2, I applied the bevel & emboss effect & an outer glow effect.

4. Now it's time for your text. For tag 1 I used Nuptia BT. I applied an effect called groovy, which I copied from Photoshop Elements. the one step effect applies an inner shadow, an inner glow, & an outer glow to the name portion of the tag. I reduced the font size to 2 for the tag information. For tag 2 I used a font called Lynda Cursive for the name & applied the bevel & emboss effect & an outer glow. The tag information is in Minion Pro size 4.

5. When you are happy with your tag, it's time to merge visible & save in png format. You may also choose to save an unmerged version in your software's default format so you can easily make duplicate tags with different names.


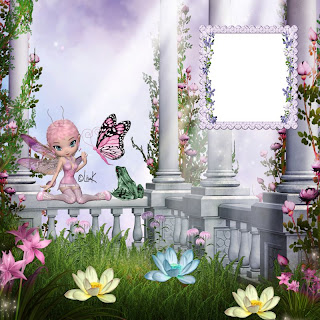
I also created 2 quick pages & a February 2011 desktop calendar & placed them in a mediafire folder. There are also individual download links for quick page 1, quick page 2, and February 2011 desktop calendar.
Please keep in mind that these quick pages & the calendar are personal use only.

Enjoy.

Tuesday, January 11, 2011

DSO colour challenge - Ooo-La-Love


This month I was inspired by some scripts by PSP Girl. I have created a virtual barbie doll I design outfits for to relax & playing with some dress scripts reminded me of the fun of dress-up.

You know how sometimes you are trying to figure out an outfit for an occasion & you end up with half your closet strewn around the room... that's what this kit is about. It's a special evening with a very special guy, so - which dress, which shoes, which purse? This may be the night he pops "the" question...ooo-la-love!

Thank you to the 4 people who took the time to say thank you last month. Sometimes it gets really discouraging & I do occasionally think of quitting. So, please take a moment or so to leave a brief comment.
Enjoy.

Monday, January 3, 2011

zip repaired

the link for zip 10 now jeads to zip 10
sorry it took so long to get to - I'm really sick with a nasty virus