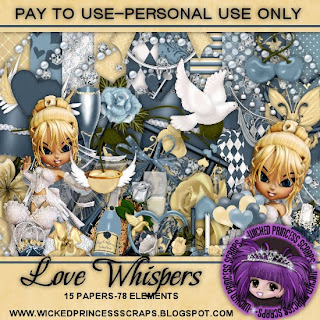
Wicked Princess has a scrumptious new kit out called Love Whispers, available in both full size & tag size.
Even though I'm still sick I had to play with this one & I have a host of goodies for you.
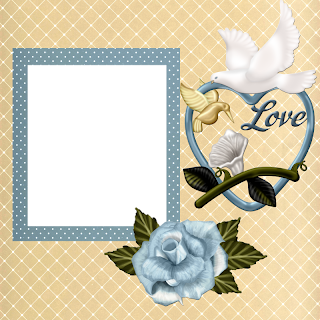
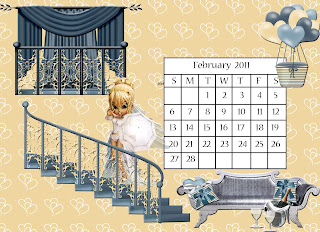
Besides 2 tags with tutorials, I did a romantic February 2011 desktop calendar & 2 quick pages.
The zip with the goodies is on mediafire.

Both tags were made using Adobe PSCS. Make sure "show transform controls" is checked.
Tag 1 ended up being rather different than it started out as my original idea just didn't look right, but I'm going to just give you the steps to the end result. There are 3 lovely posers by Lisa of Sophisticated Imaging included in the kit, & I used them in tag 1 & the calendar, but in tag 2 I used a lovely little ballerina poser made by Medievil Creations.

Begin with a transparent canvas 700 pixels x 700 pixels.
Tag 1 fill with background of choice (paper 2) & then on a new layer use custom shapes to create a heart you will fill with another background of choice (paper 14) by checking "use previous layer as a clipping mask". I applied a plastic acrylic style to the heart.
Tag 2 use your circular selection tool to create a circle & fill it with your background of choice (paper 2).
Tag 1 now needs the background elements of choice (champagne, champagne glass, diamond scatter) by copy, paste, resize as necessary & arrange as desired. I used 2 champagne glasses & had to rearrange the diamond scatter several times before it looked the way I wanted. Next, copy & paste the doors. Choose a decoration for the door (rose heart wreath, with a small swatch of paper 3 positioned behind) & copy, paste, resize & position the decoration as desired. I placed a small swatch of paper behind the decoration I chose because I wanted to put text within the wreath & the text didn't show up well on the door glass. Choose the poser you wish to use (Lisa -Starlet 1) & copy, paste, resize & position as desired. Placing elements in the poser's hands (champagne glass, heart key) depends upon your poser choice & element choice. I applied the bevel & emboss effect to all the elements & the poser in tag 1.
Tag 2 is much simpler. After copying, pasting & resizing, I placed the heart wreath frame so that it encircled the tag. I chose a center element (winged heart) to copy, paste, resize, position & apply bevel & emboss to. I also applied bevel & emboss effect to my poser of choice (Medi - flake ballerina 8) after I had copying, pasting, resizing & positioning.
I always experiment with different fonts before deciding what looks best & I often use a different font for the tag message than for the name. Tag 1 used NimbusSanT for the text & OttumHmkBold for the name, while tag 2 used Johannes for the text & MilanoLet for the name.
I applied the same blue acrylic style I used on the heart in tag 1 to the text in tag 1, while in tag 2 I applied an effect called groovy, which is a one step application of inner shadow+outer glow+inner glow. I used a small font for the tag information in both cases.
When you are happy with your tag do a final save.

Enjoy.






1 comment:
Just a quick note to let you know that a link to this post will be placed on CraftCrave in the DigiFree category today [18 Jan 01:00am GMT]. Thanks, Maria
Post a Comment