


Tutorial for Sun Fun Tag
What I used:
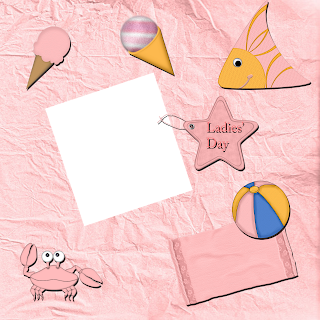
Tag kit Fun In The Sun from Crazed’s Creations available here
http://digifoxsstudio.net/store/index.php?main_page=product_info&cPath=1_59&products_id=546
Visit her blog http://www.crazedscreations.blogspot.com/
Poser from http://sweetpeatubes.net/
What I did:
I used Paint Shop Pro XI to create this tag but while I love PSP I think I will stick to Photoshop for tags in the future – the bounding box features makes resizing & positioning so much easier. Since I wasn’t used to making a tag in PSP, I made errors & backtracked & adjusted, & so this tutorial is difficult to write because at times I lost track of exactly what I did. I will try to present a useable representation of creating this tag, (which in some cases means writing what I should have done).
I used default setting on the effects & have no idea how to achieve them with a program other than PSP, but this tutorial should work in any version of PSP.
1. Open a transparent 600 pixel x 6oo pixel transparent canvas.
2. Use shape tool to create a circle that almost fills the canvas. Highlight circle with magic wand or use magic lasso & fill with background of choice (paper 3). Merge visible. Create new layer. Use magic lasso to trace a shoreline in that layer above the circle base. The bottom of your new shape should match the existing bottom, with the top as wavy as you wish it, cutting across the circle at whatever point you prefer. Fill the highlighted shape you just created with background of choice (paper 2). You will be slipping your choice of sea creature between the sea layer & sand layer; so do NOT merge these layers together.
3. Select frame 4. Copy & paste as new image*. Fill with white. Resize to 50%. Copy & paste into your canvas. (*Or remember to click NO when asked if you want to save changes to image!)
4. Select sea creature of choice. I picked the dolphin. Copy & paste as new image, then resize to 50% & copy & paste into your tag. With the dolphin in the active layer, select the dolphin with the lasso. Apply effects>3D>pillow. Go to layers>move layer down as many times as needed to position sea creature between your sky & sand layers.
5. Select the sun element, copy & paste as new image, then resize to 50%. Copy & paste into your tag. With sun layer highlighted in layer palette, use lasso tool to select the sun. Apply effects>3D>inner bevel>frame.
6. Select palm tree. Copy & paste as new image & then resize to 50-70% depending on look you prefer. Copy & paste into tag. With palm tree layer selected, use lasso tool to select the palm tree. Apply effect>3D>inner bevel>angled.
7. Next copy & paste the poser of your choice as a new image. I am using “baby girl 1” which is available for free at the link mentioned at the beginning of the tutorial. Resize poser as needed. Baby girl is resized to 50% in this tag. Copy & paste into tag. I applied effects>3D>cutout followed by effects>3D>drop shadow.
8. Select any other elements you wish to add. I chose the beach ball, which I resized to 25% & applied effects>3D>inner bevel>groove. I also chose the sand pail, which I resized to 30% & applied effect>3D>inner bevel>bead.
9. Choose your font & type your desired text. I used a font called Art Brush, & used size 20 for the tag title, size 16 for the name, and size 3 for the tag credits. For both the tag title & the name I used the lasso tool to select the type & applied effects>3D>inner bevel>frame.
10. Merge visible & save.
 Enjoy.


1 comment:
Thank you so much for this Freebie. I want to let you know that I posted a link to your blog in Creative Busy Hands Scrapbook Freebies Search List, under the Beach/Sea/Fish, etc. Theme post on Jun. 13, 2009. Thanks again.
Post a Comment