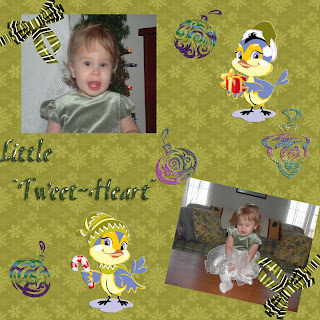
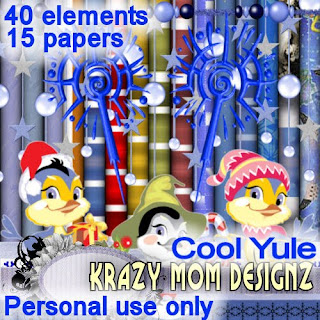
 When I saw the cute birds in Krazy Mom Designz "Cool Yule" kit, I wanted to use them to scrap the latest photos of my friend's adorable little girl. I recoloured everything to suit my photos with Kelli's permission. Then I made a tag & tut with the kit.
 Tutorial for “Tweet Yuletide Greetings”
What I used:
“Cool Yule” kit by Krazy Mom Designz
http://yourscrapaddiction.com/index.php?main_page=product_info&cPath=1_176&products_id=1283
Adobe PhotoShop Creative Suite 4
(Make sure “show transform controls” is checked to allow easy resizing of elements.)
What I did:
1. Open a new transparent canvas 700 pixels x 700 pixels. Use circular selection tool to create a circle & fill with background of choice (paper 2).
2. Choose snowflake element. Copy, paste, & resize. Repeat. Use lasso tool to select larger dark snowflake of second set, choose edit>clear. Position snowflakes at top of circle. Apply bevel & emboss effect.
3. Choose a bird (bird 2), copy & paste. Apply bevel & emboss effect.
4. Enter desired text. I used Kingthings Christmas 12. Apply bevel & emboss effect. Use smaller font size (8) for word “from” & (4) for tag information.
5. Merge visible & save.
Enjoy










No comments:
Post a Comment